Making A Knife
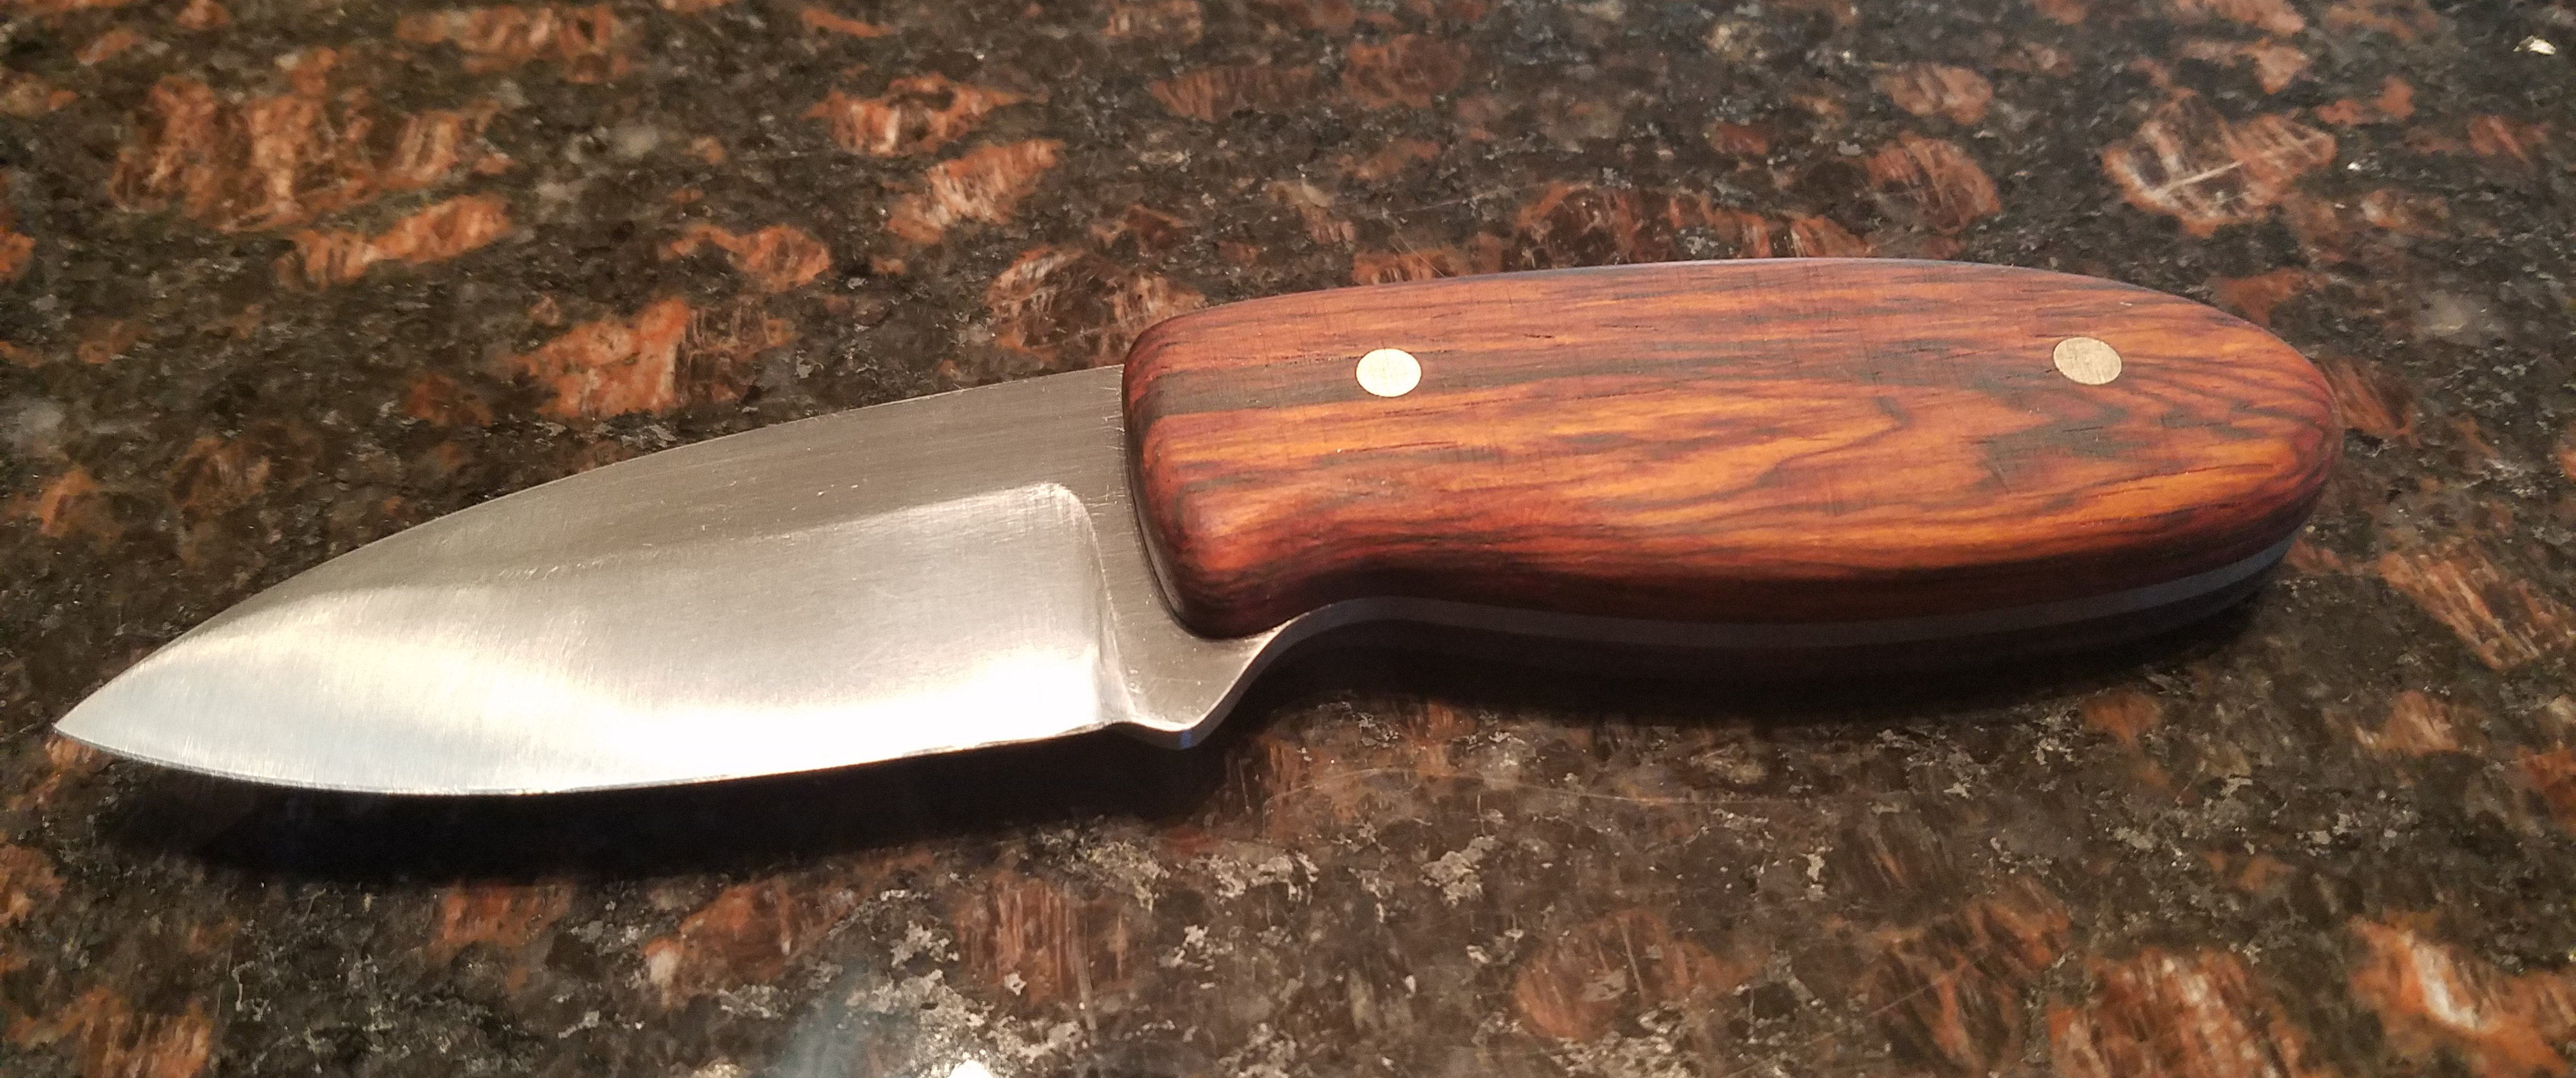
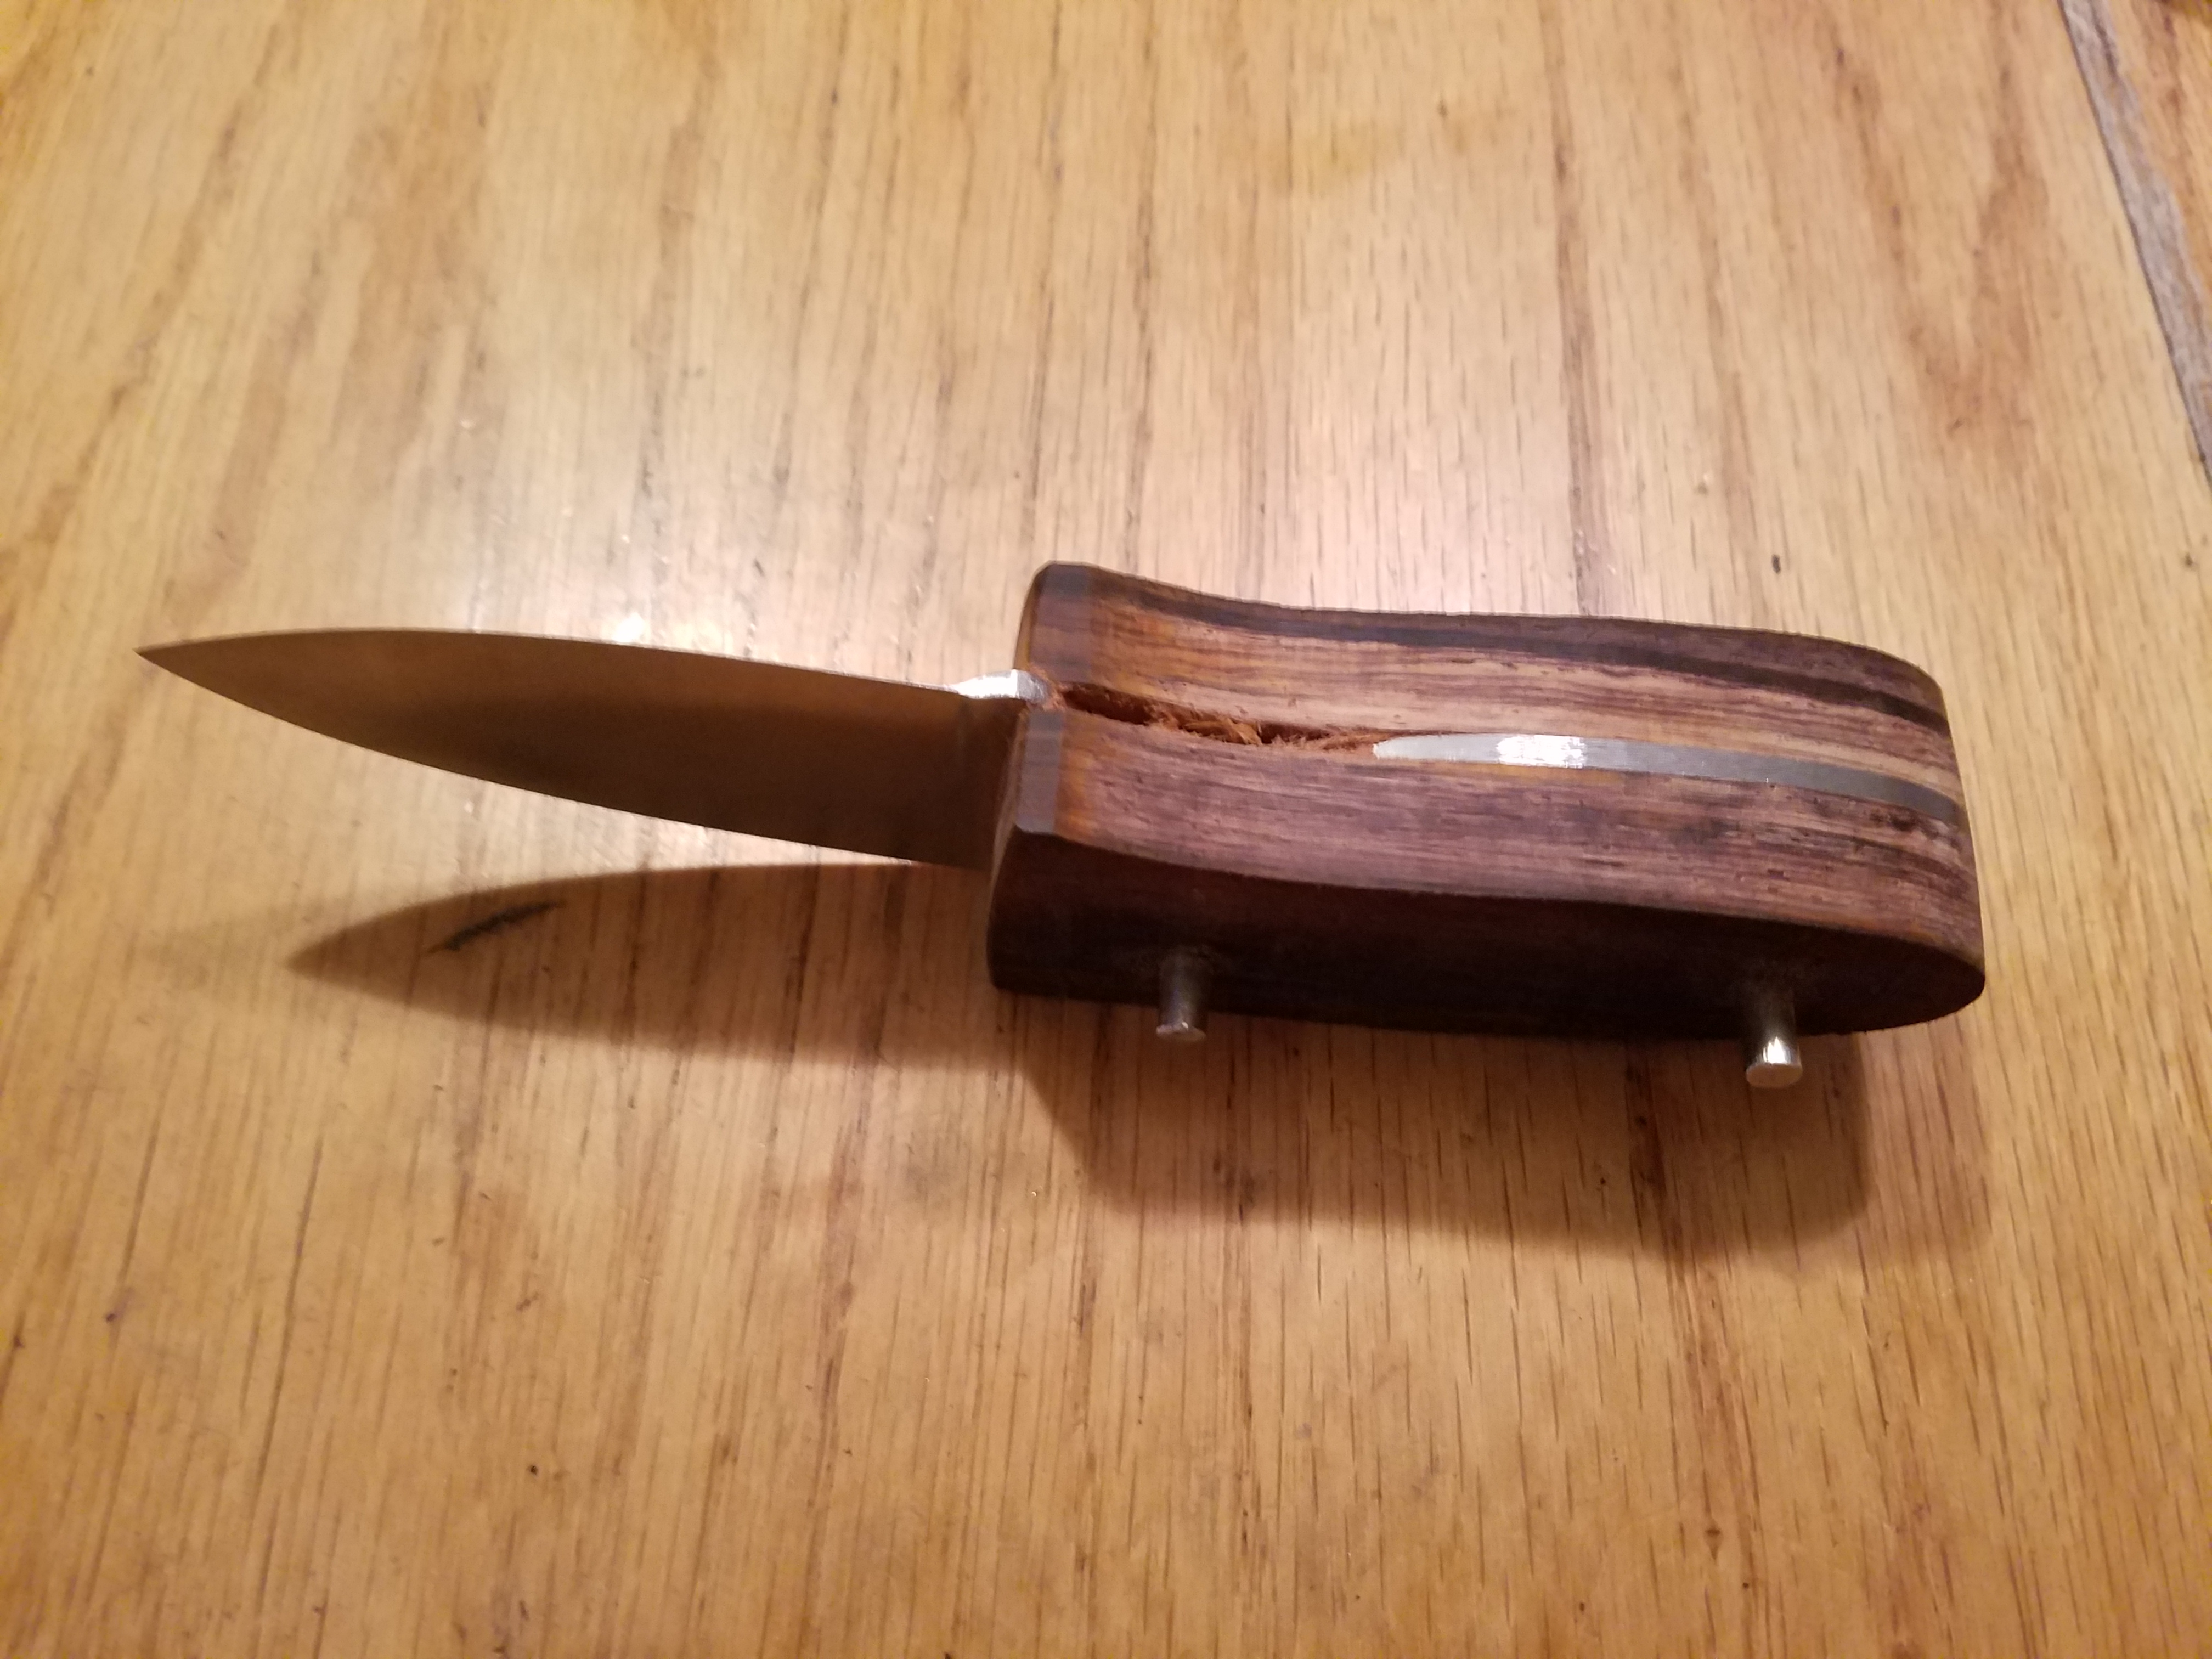
I’ve been wanting to make my own knives for a while now and decided it was time to just do it. Here’s what the finished product looks like.
Design
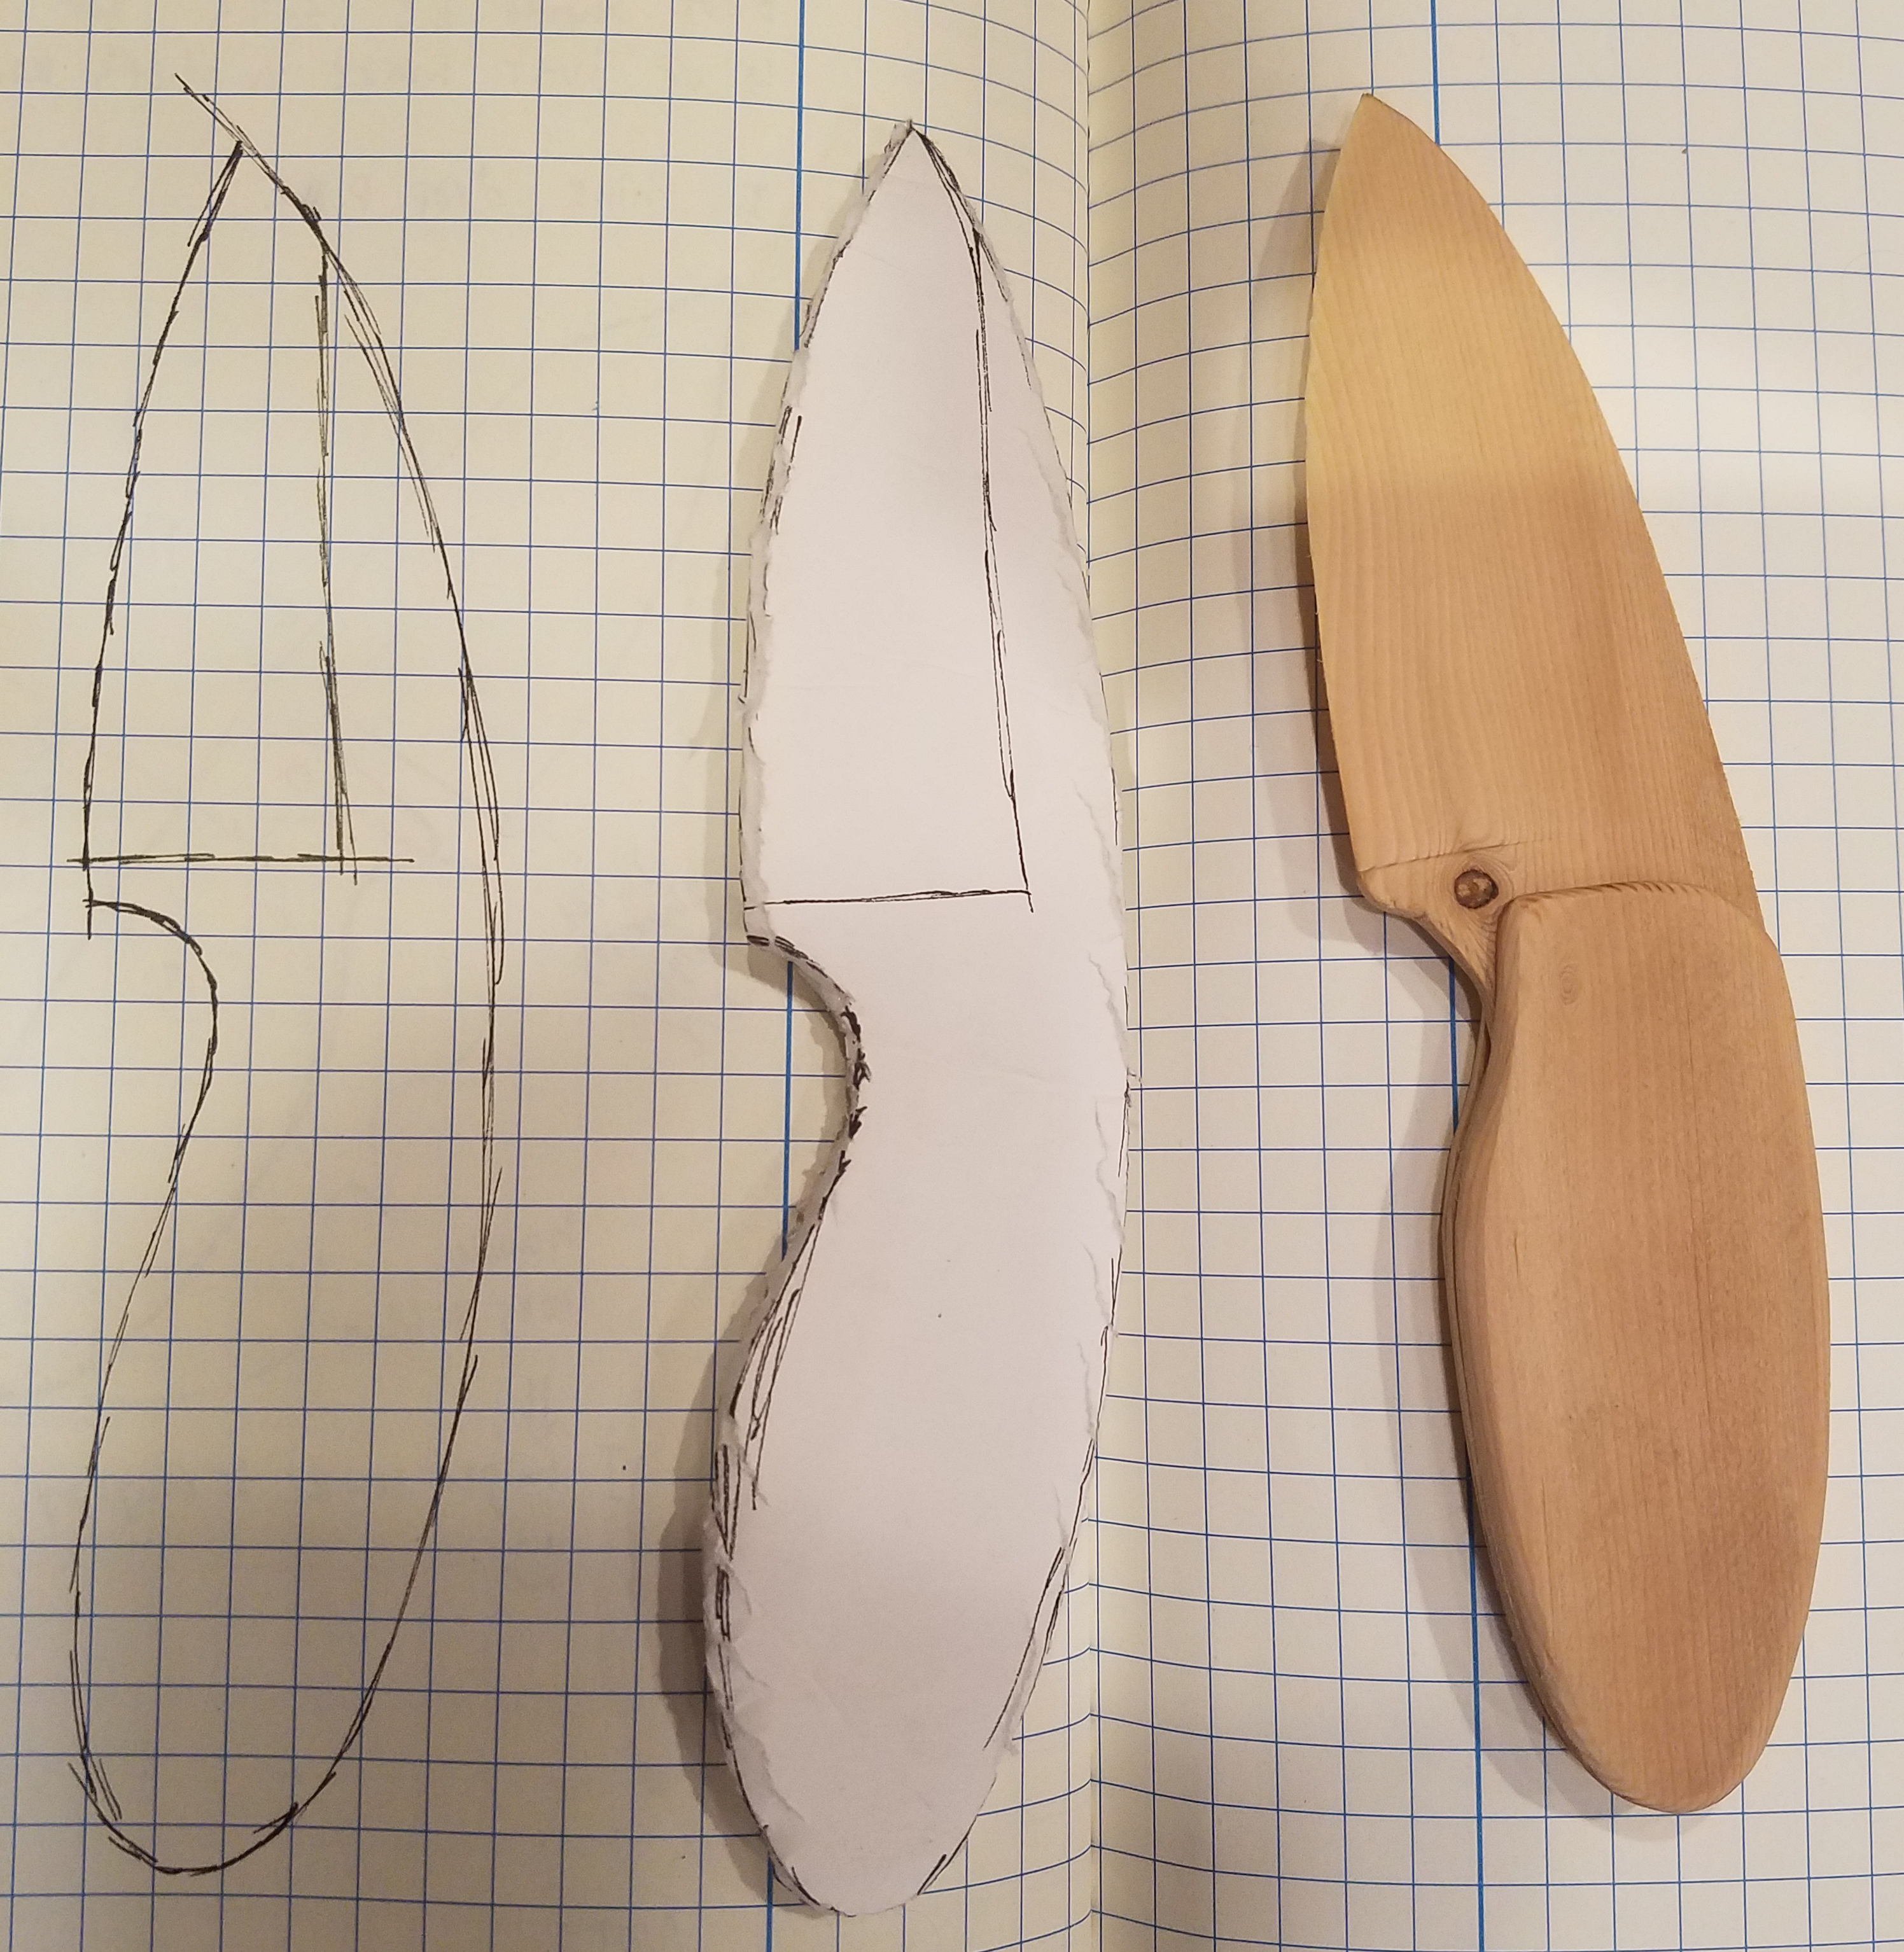
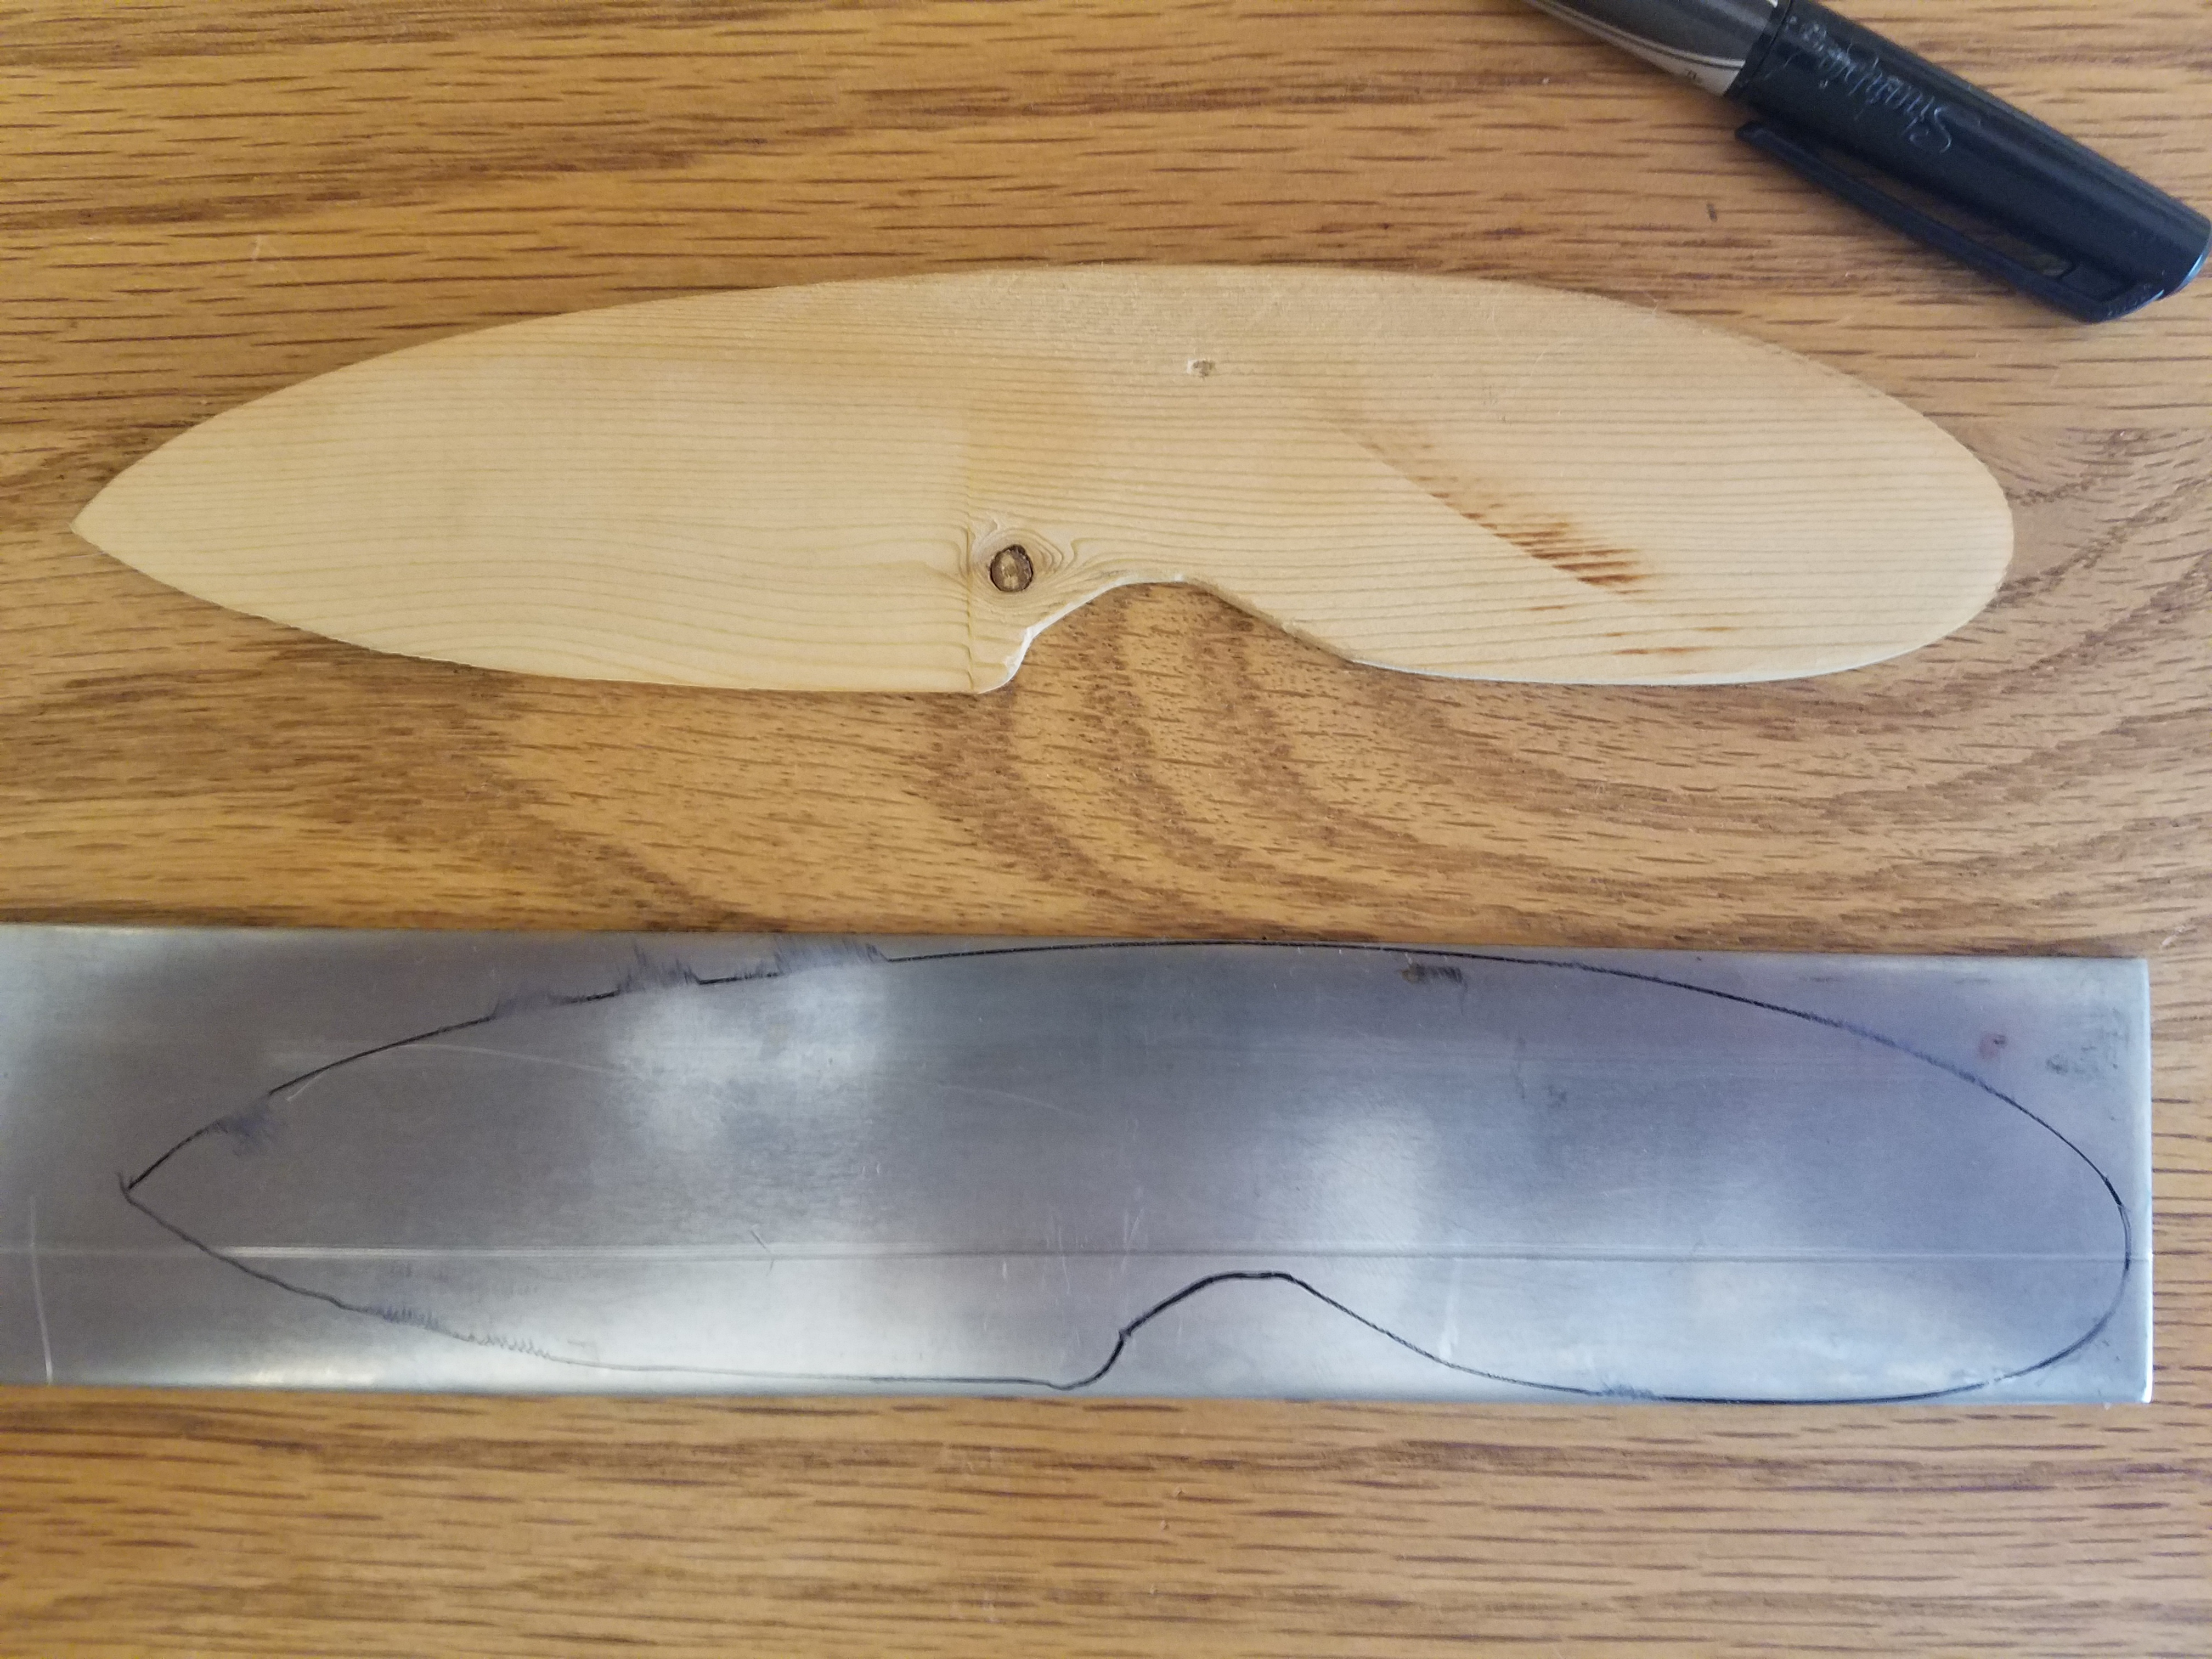
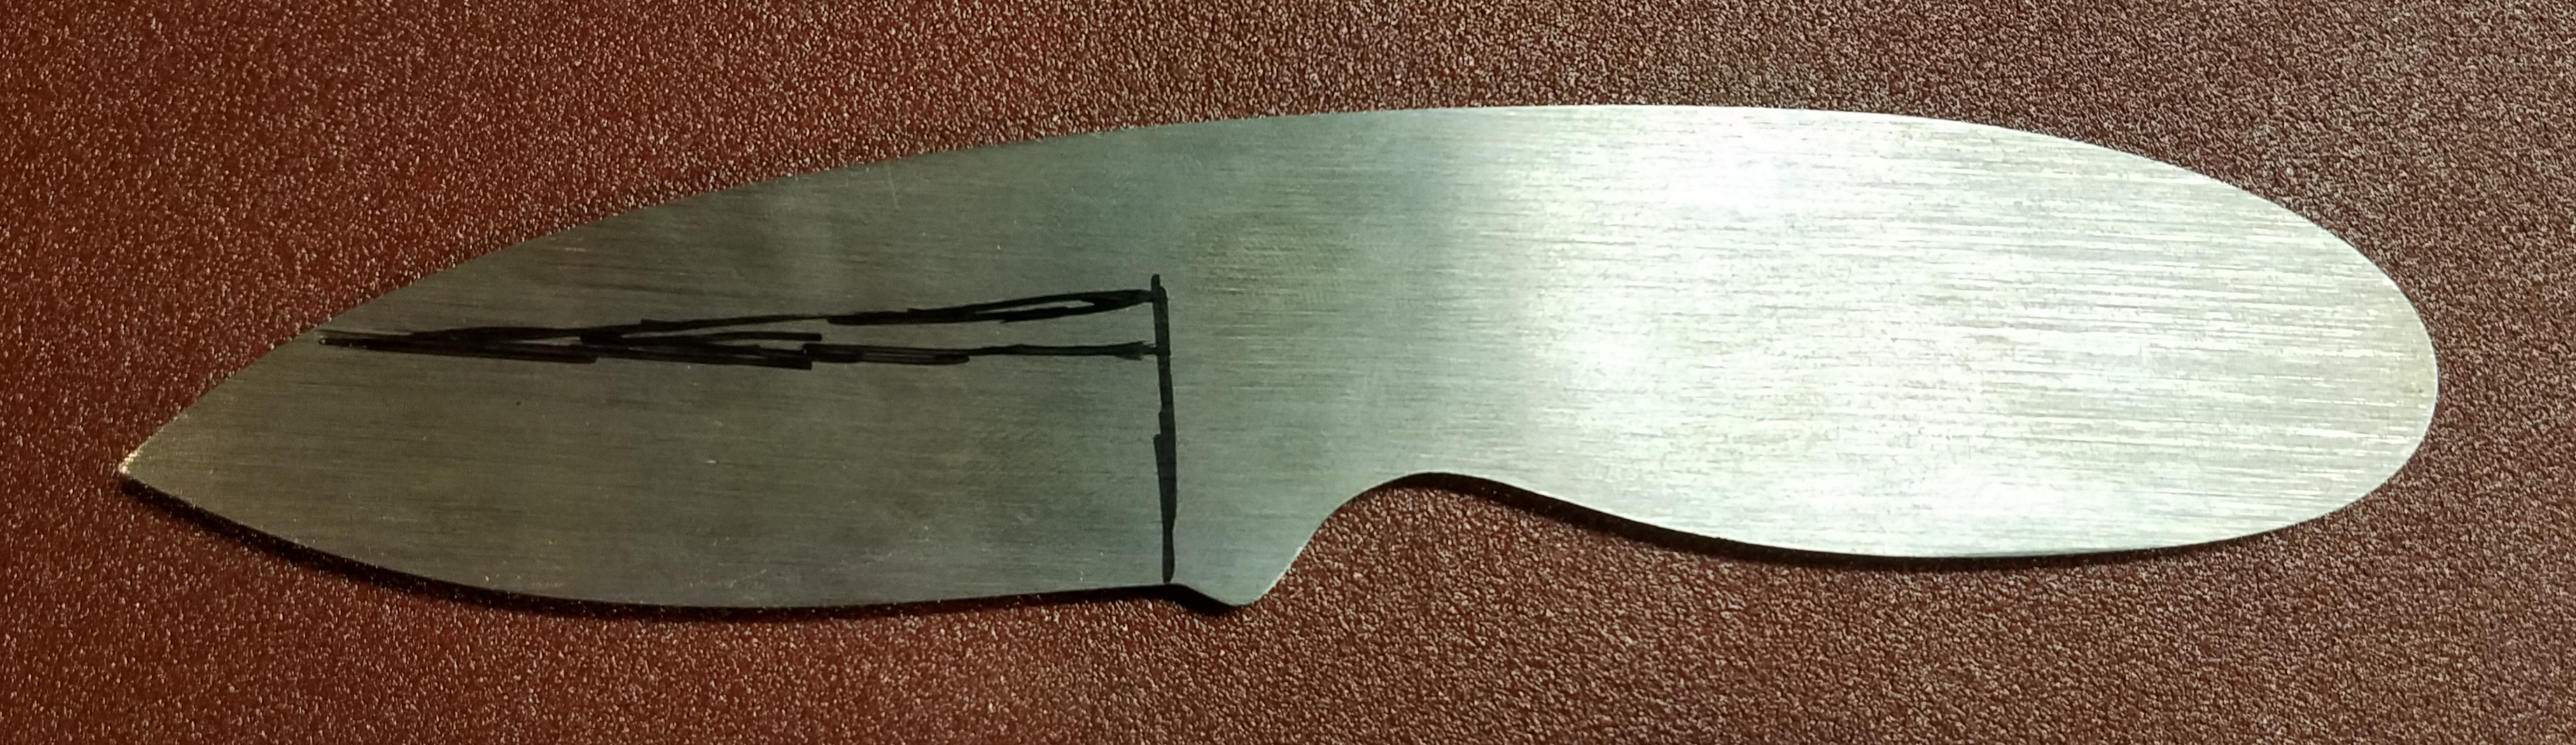
I wasn’t sure what exactly I was looking to make so I just made some sketches that were asthetically pleasing to me.
I generally don’t like the look of knives that have a shorter blade than handle, but I also wanted to keep the blade under 3.5” (Colorado’s limit for concealed knives). The goal was for the handle to feel good in the hand while trimming its length significantly.
The Blade
Since I didn’t go into this with knifemaking experience, I wanted to work with a relatively forgiving steel. From a little research I found that 1075, 1095, and O1 steels are all pretty good for beginners and are oil quenchable. I settled on 1095 because I wanted better edge retention (over 1075) and didn’t know much about O1.
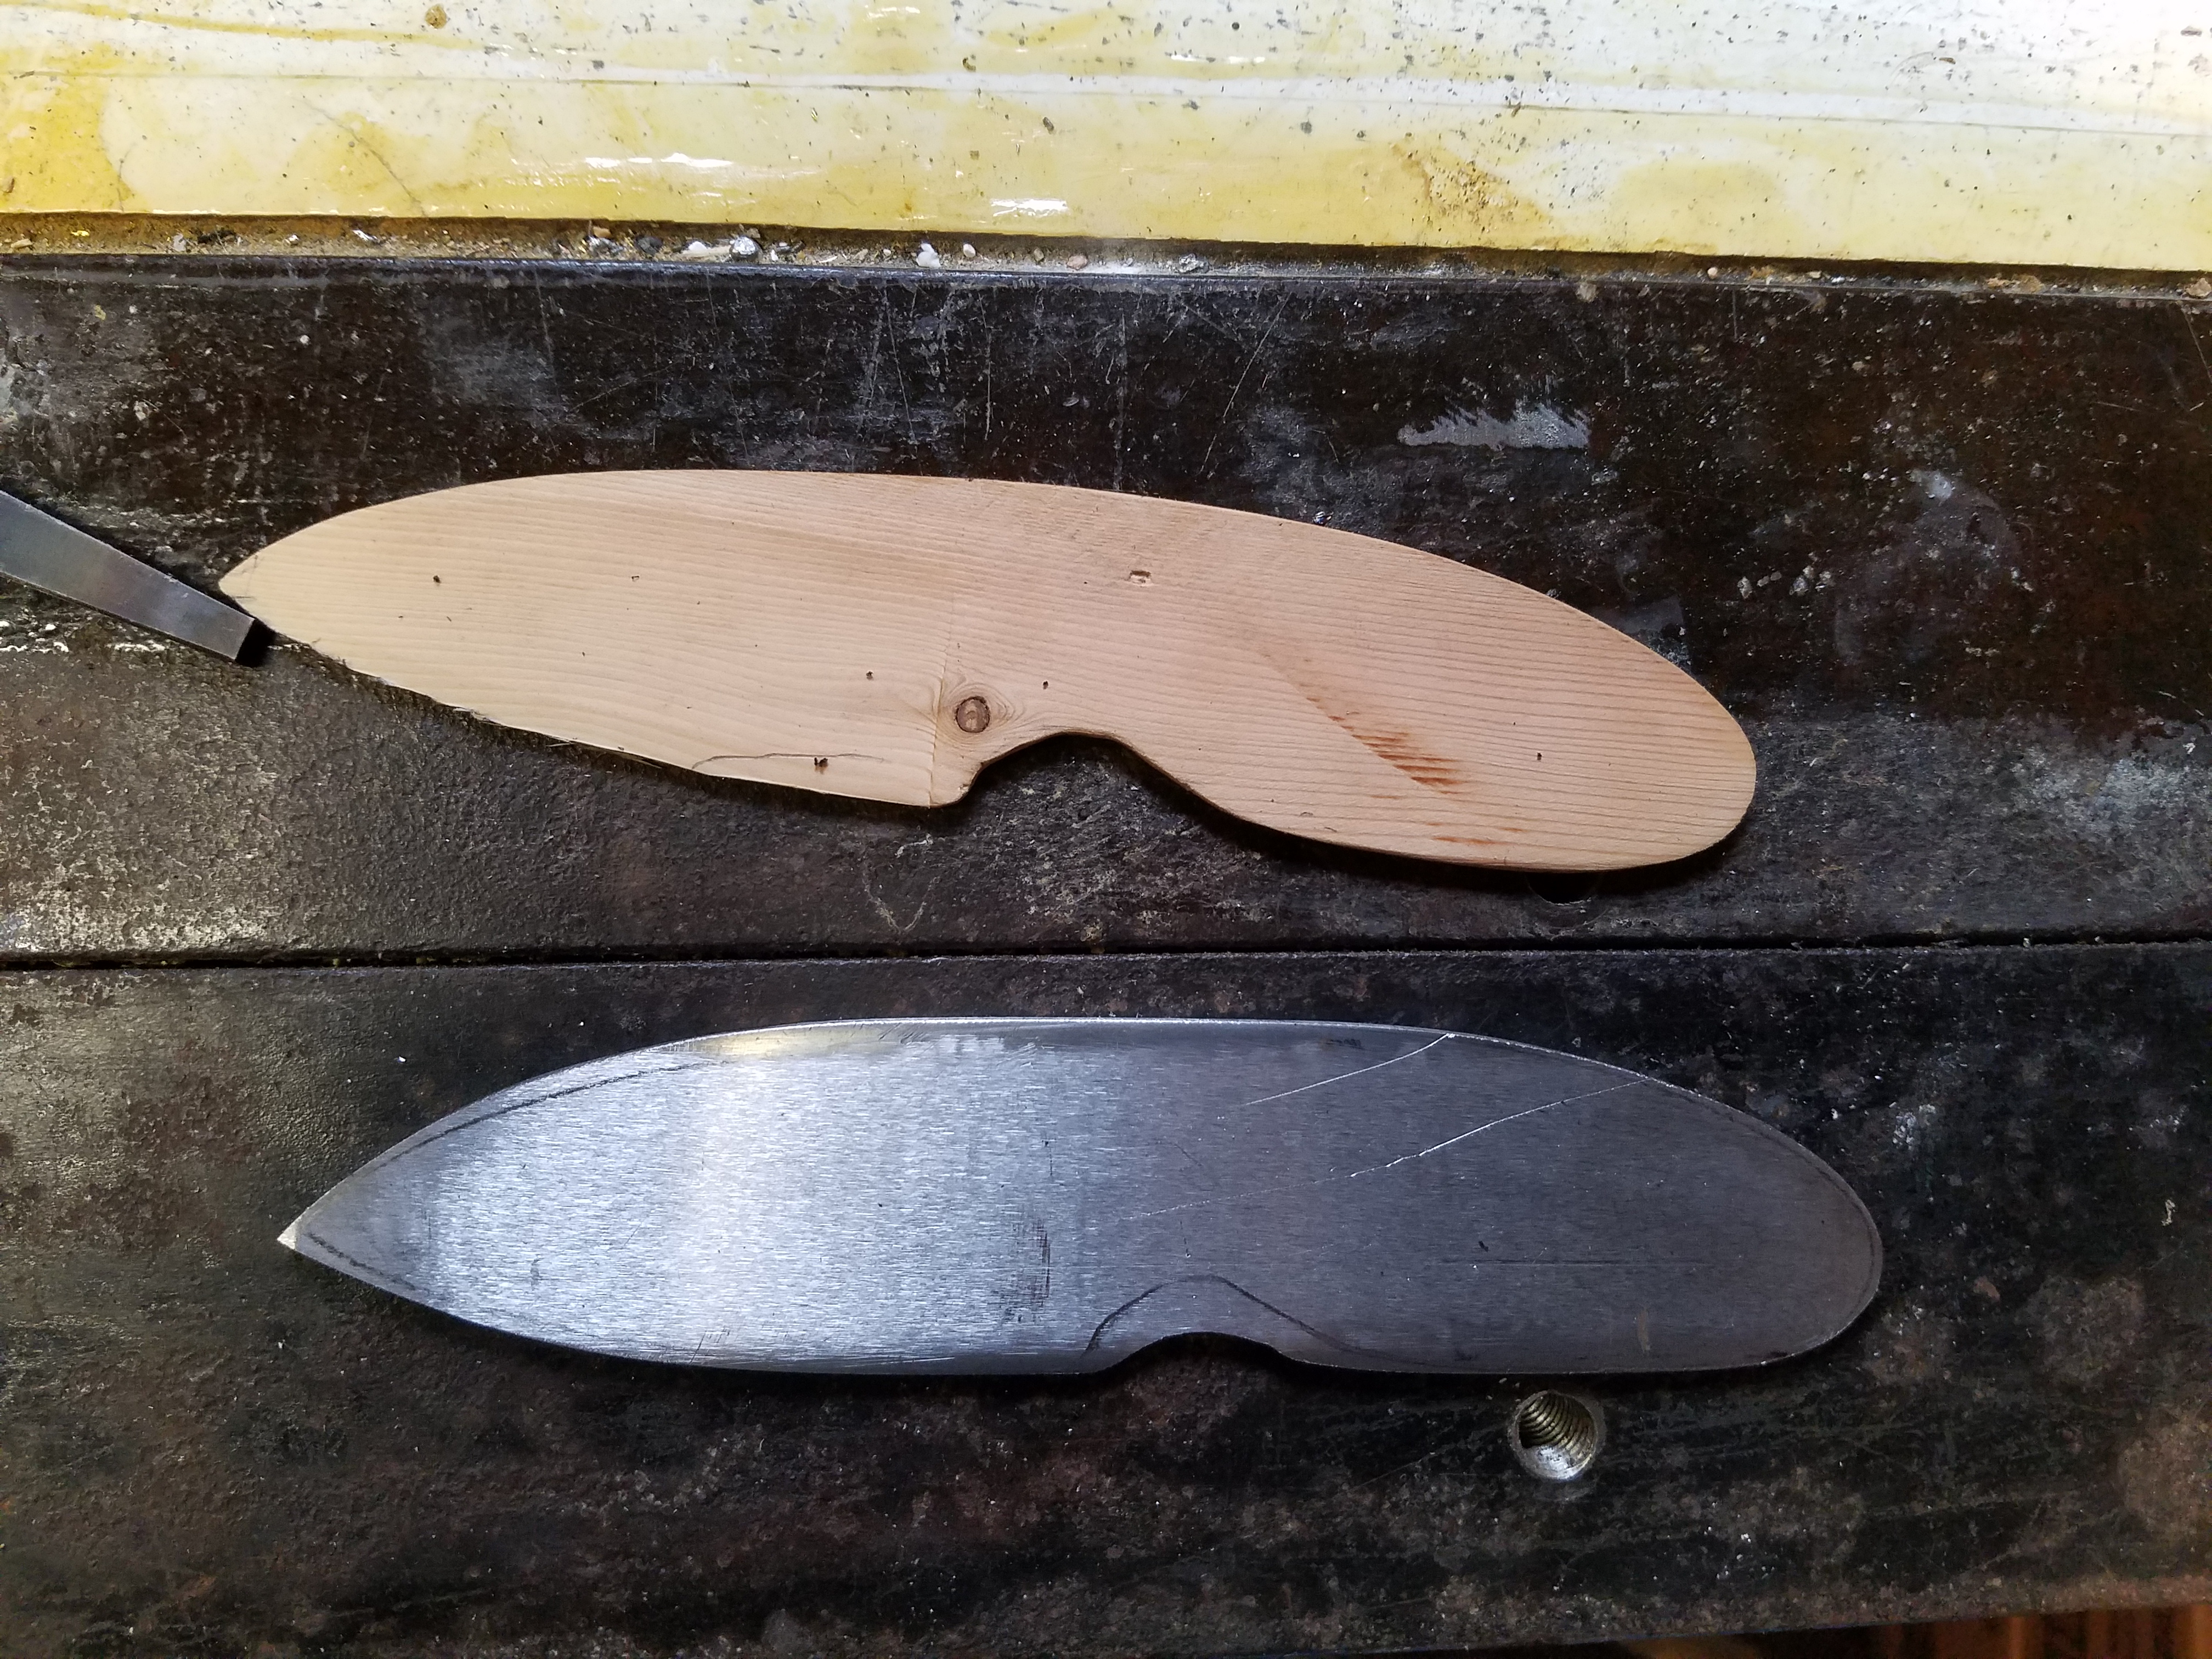
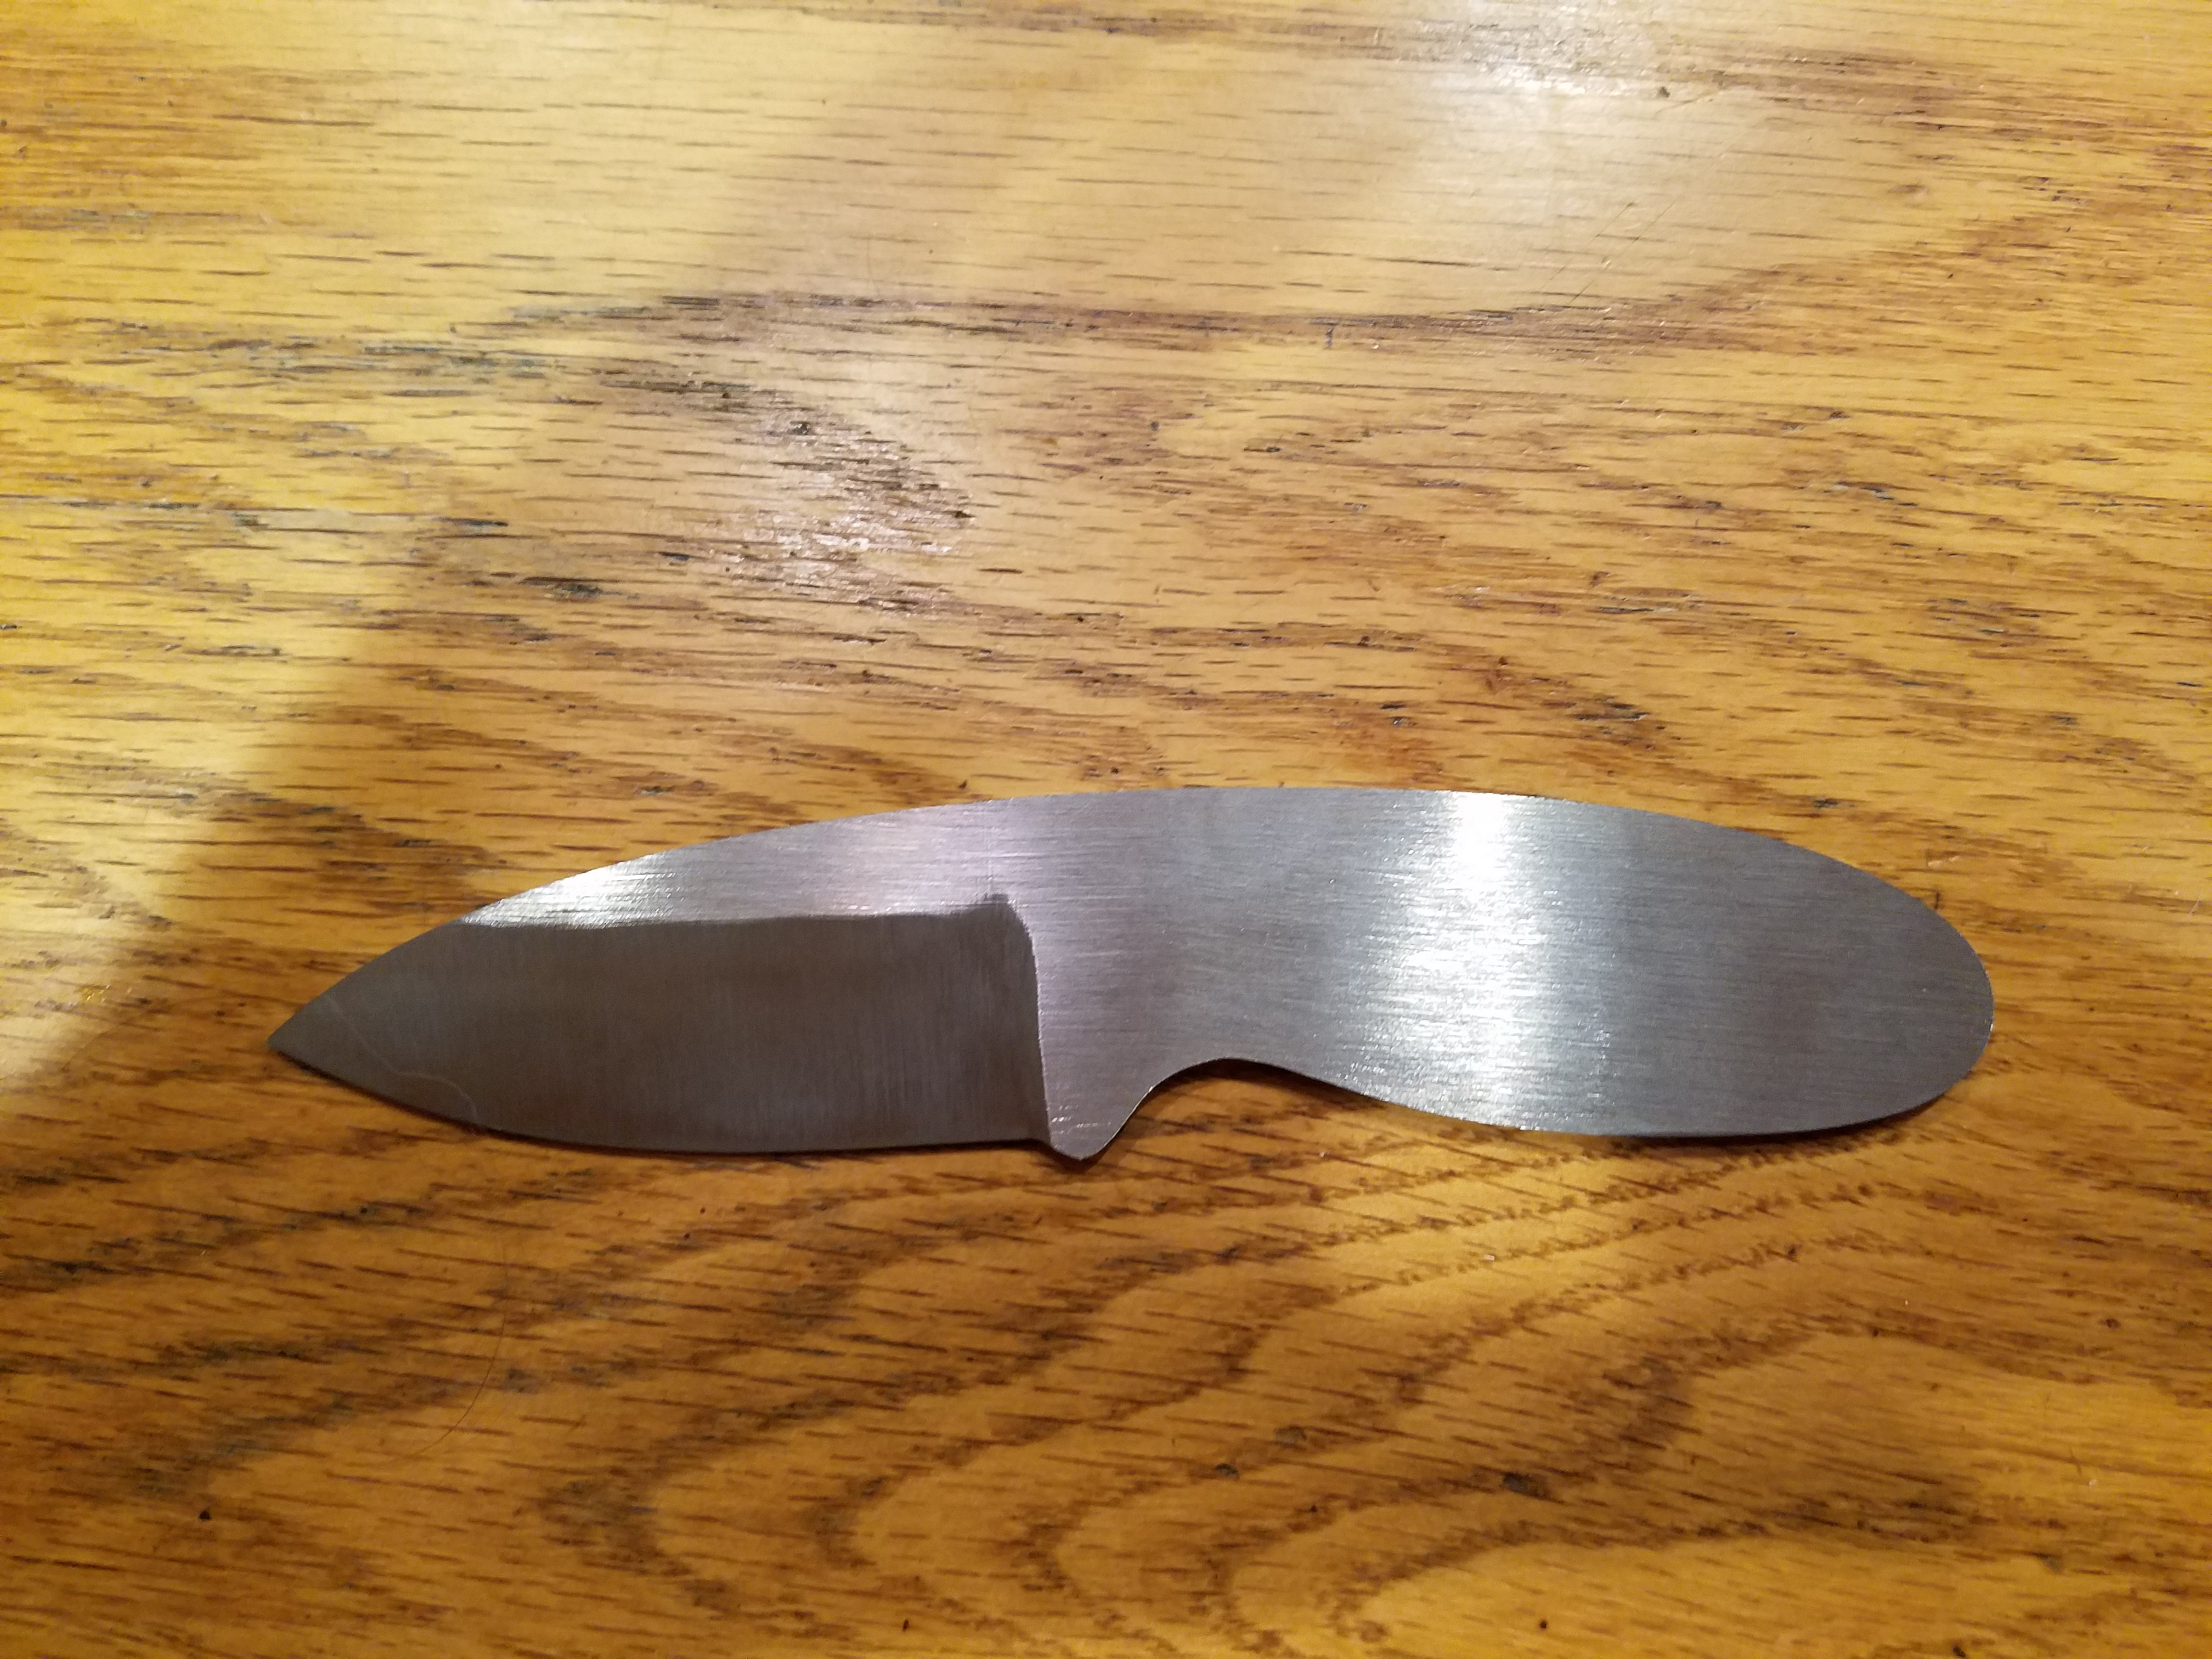
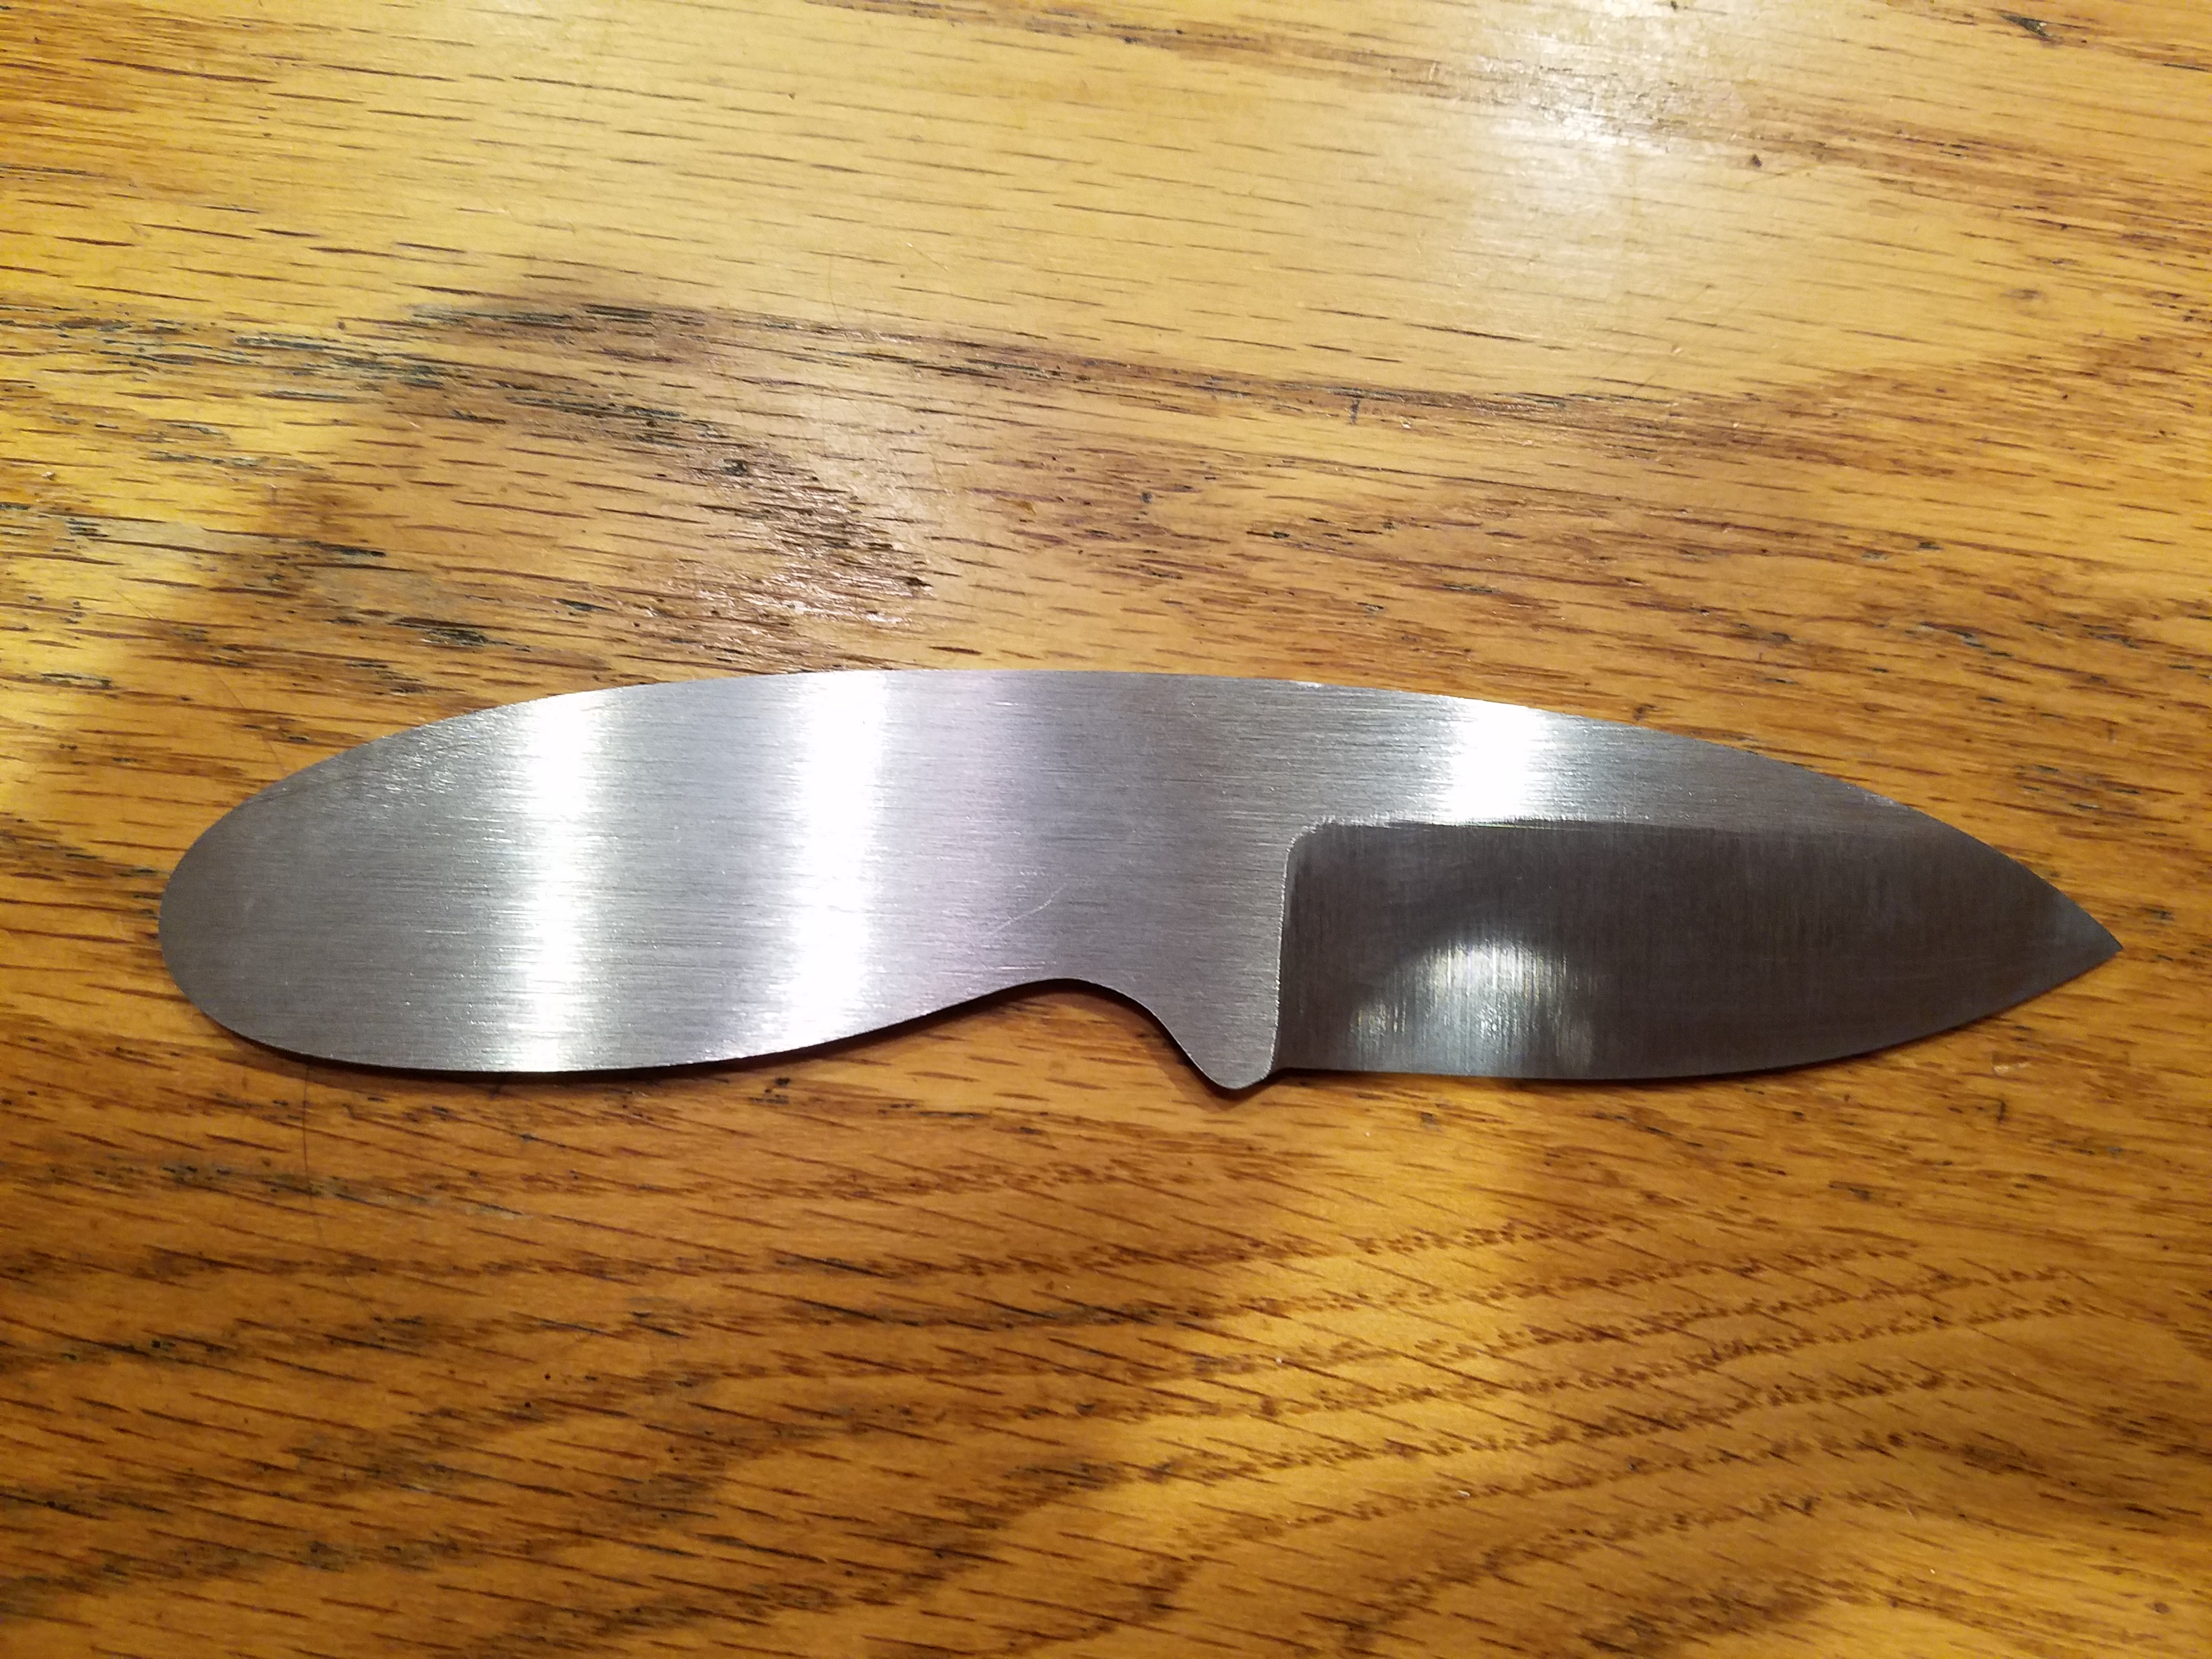
Almost the entire blade was shaped with a 1x30” belt sander. Mine is from Harbor Freight. It’s not perfect but the price is right.
 |
 |
To grind the bevels into the sides of the blade, I didn’t use a jig but just estimated a reasonable angle and removed metal to a center line I scribed onto the edge. I definitely could have achieved flatter bevels with a jig so in the future I will likely be using one.
 |
 |
Heat Treatment
This was definitely the most daunting step in the project. Heat treatment is necessary to harden what has been fairly soft steel until this point so that it will be able to hold a sharp edge.
First it has to be heated to roughly 1500°F, or a little beyond its curie point (steel stops attracting a magnet). Once the blade is uniformly at 1500°F, it is submerged in oil (I used peanut oil) to cool it quickly.
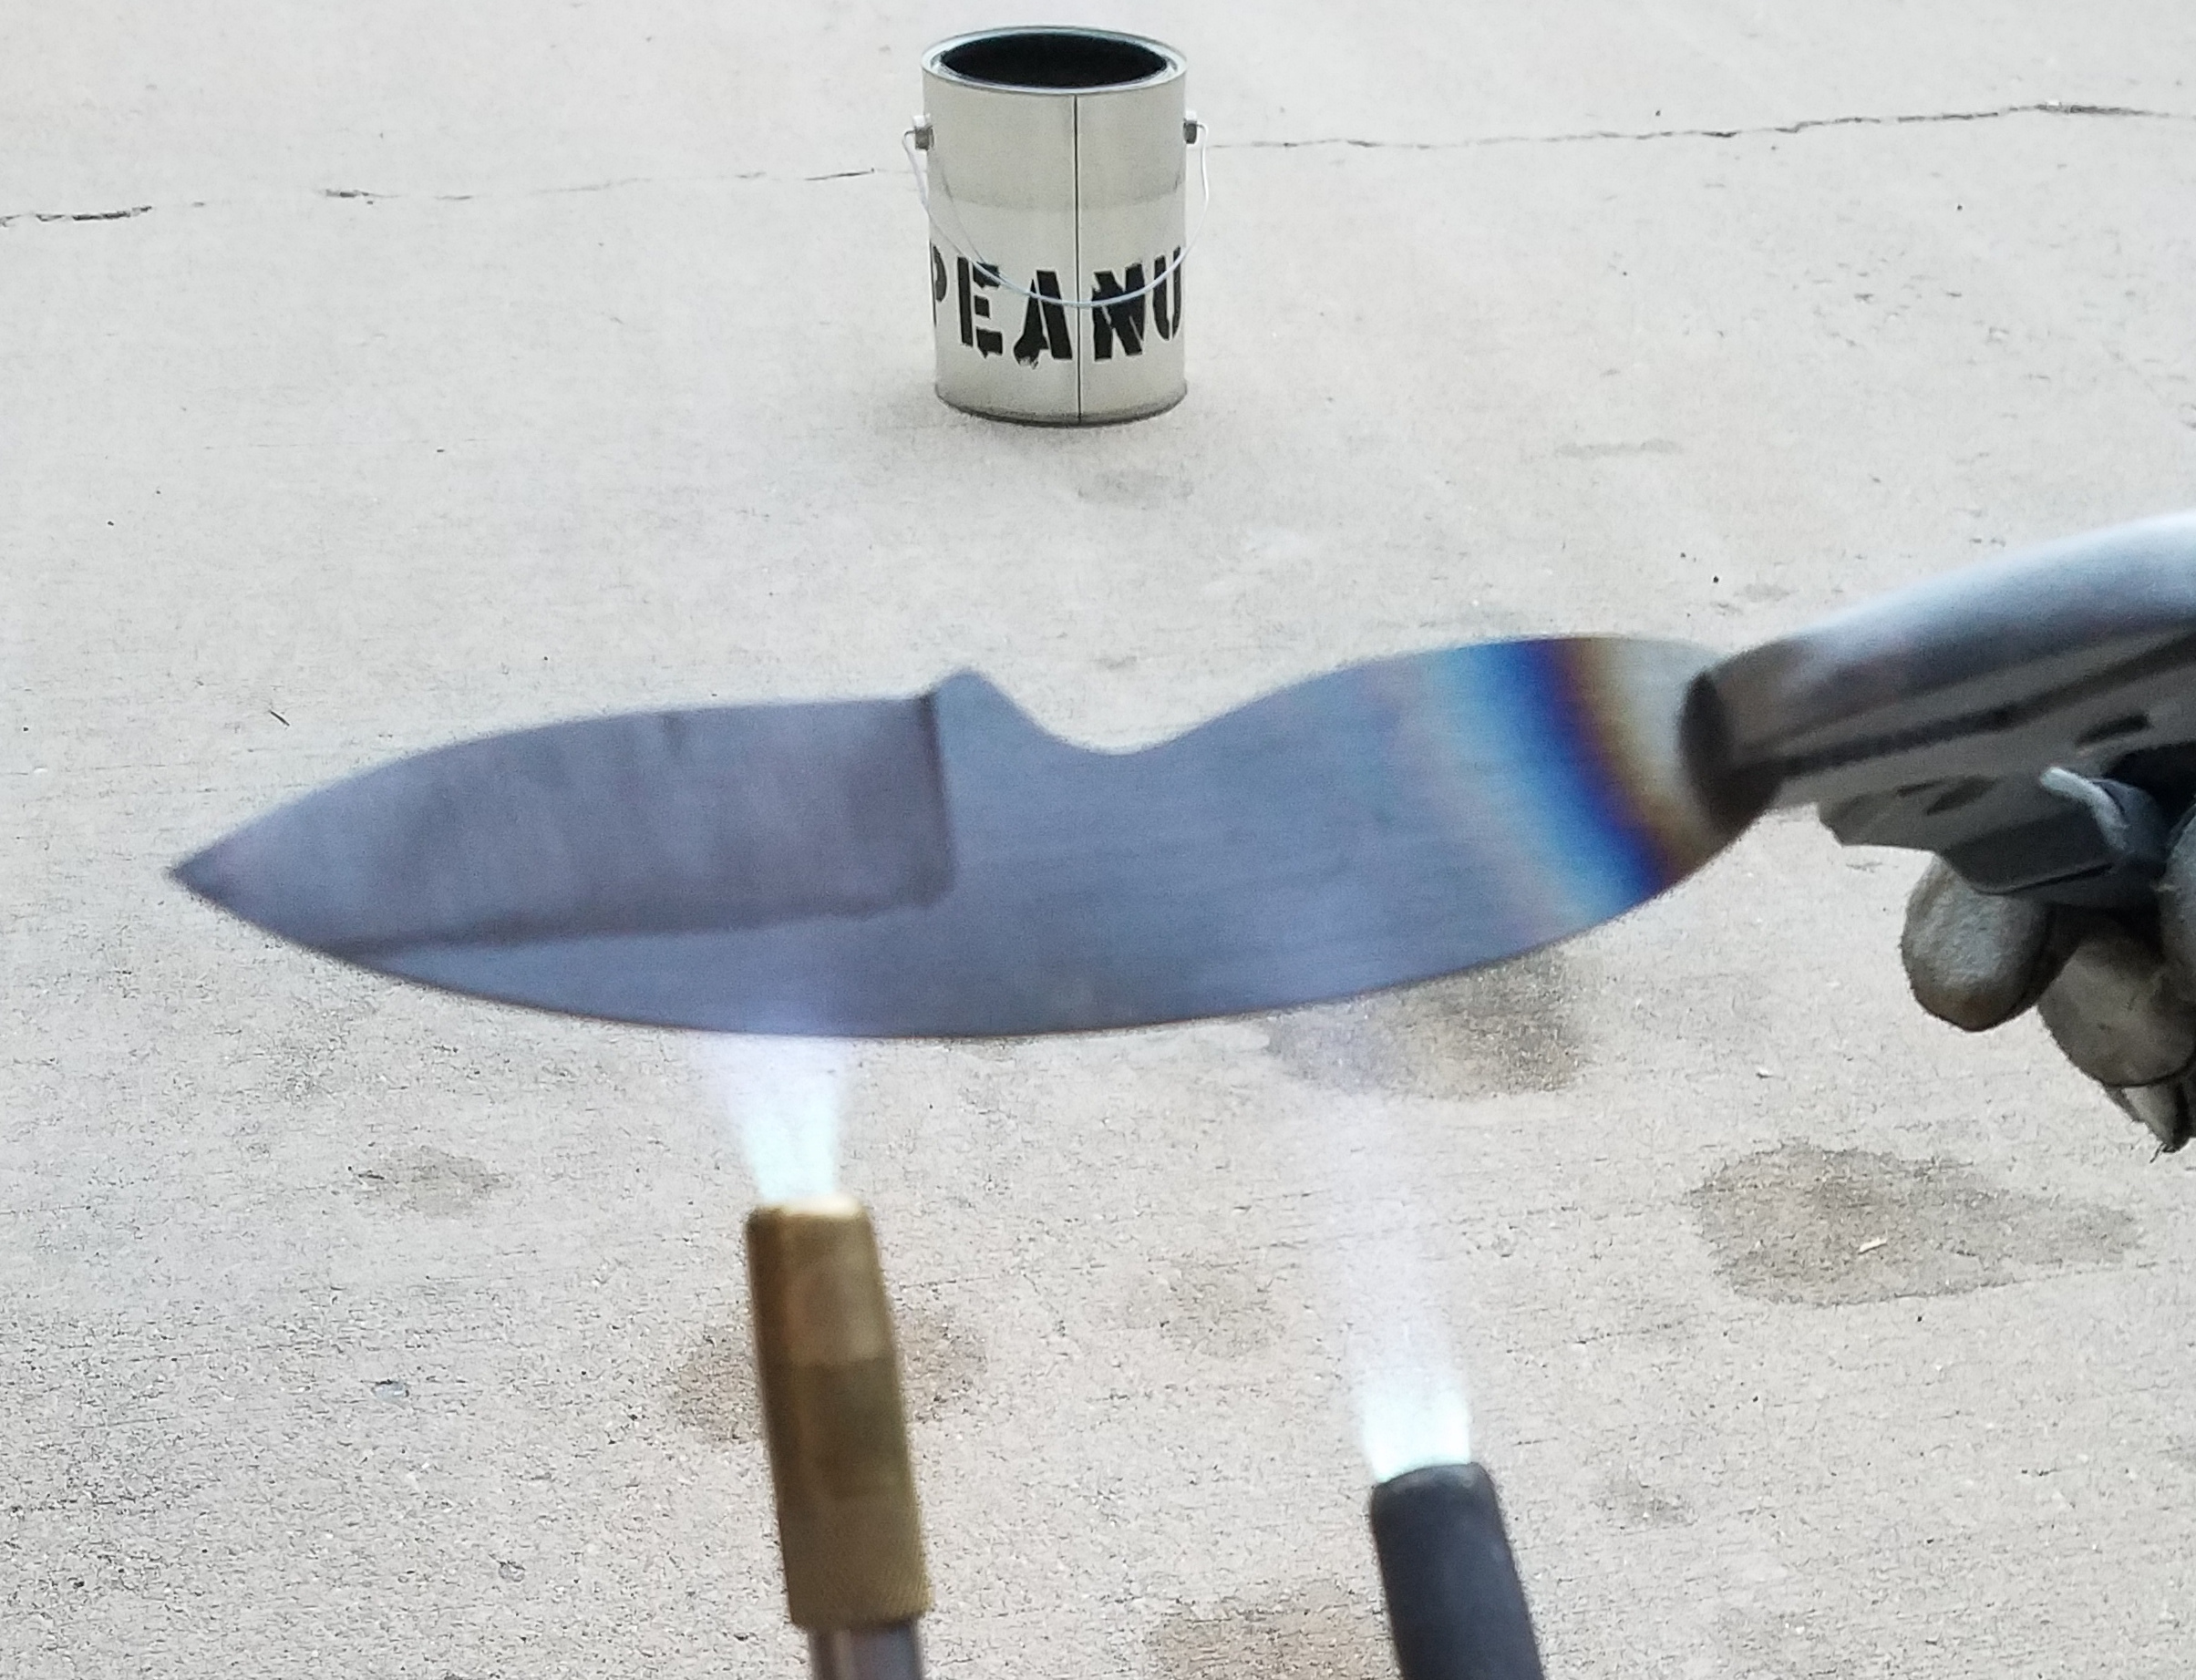
My first attempt at hardening the blade didn’t go exactly to plan. I was using 2 torches (above) in an attempt to get enough heat, however it was very difficult to get a uniform color (and therefore temperature) throughout the steel while reaching a high enough temperature. In the end, I decided to re-harden the steel with a more powerful heat source. Unfortunately, I didn’t take any pictures of the second attempt at hardening the blade, but it’s really the same as before just with a bigger torch.
The final step was to temper the blade. This softens the steel so it won’t crack or shatter as easily. I just put the hardened blade in an ordinary kitchen oven at 400°F for about an hour.
The Handle
I settled on cocobolo for the handle. The process of shaping the handle scales is fairly straightforward. I put the two blocks of wood on either side of the blade and sanded them until I was just starting to hit steel. Once the profile is mostly done, I once again connected the scales with dowel pins to keep them aligned and sanded their profiles.
 |
 |
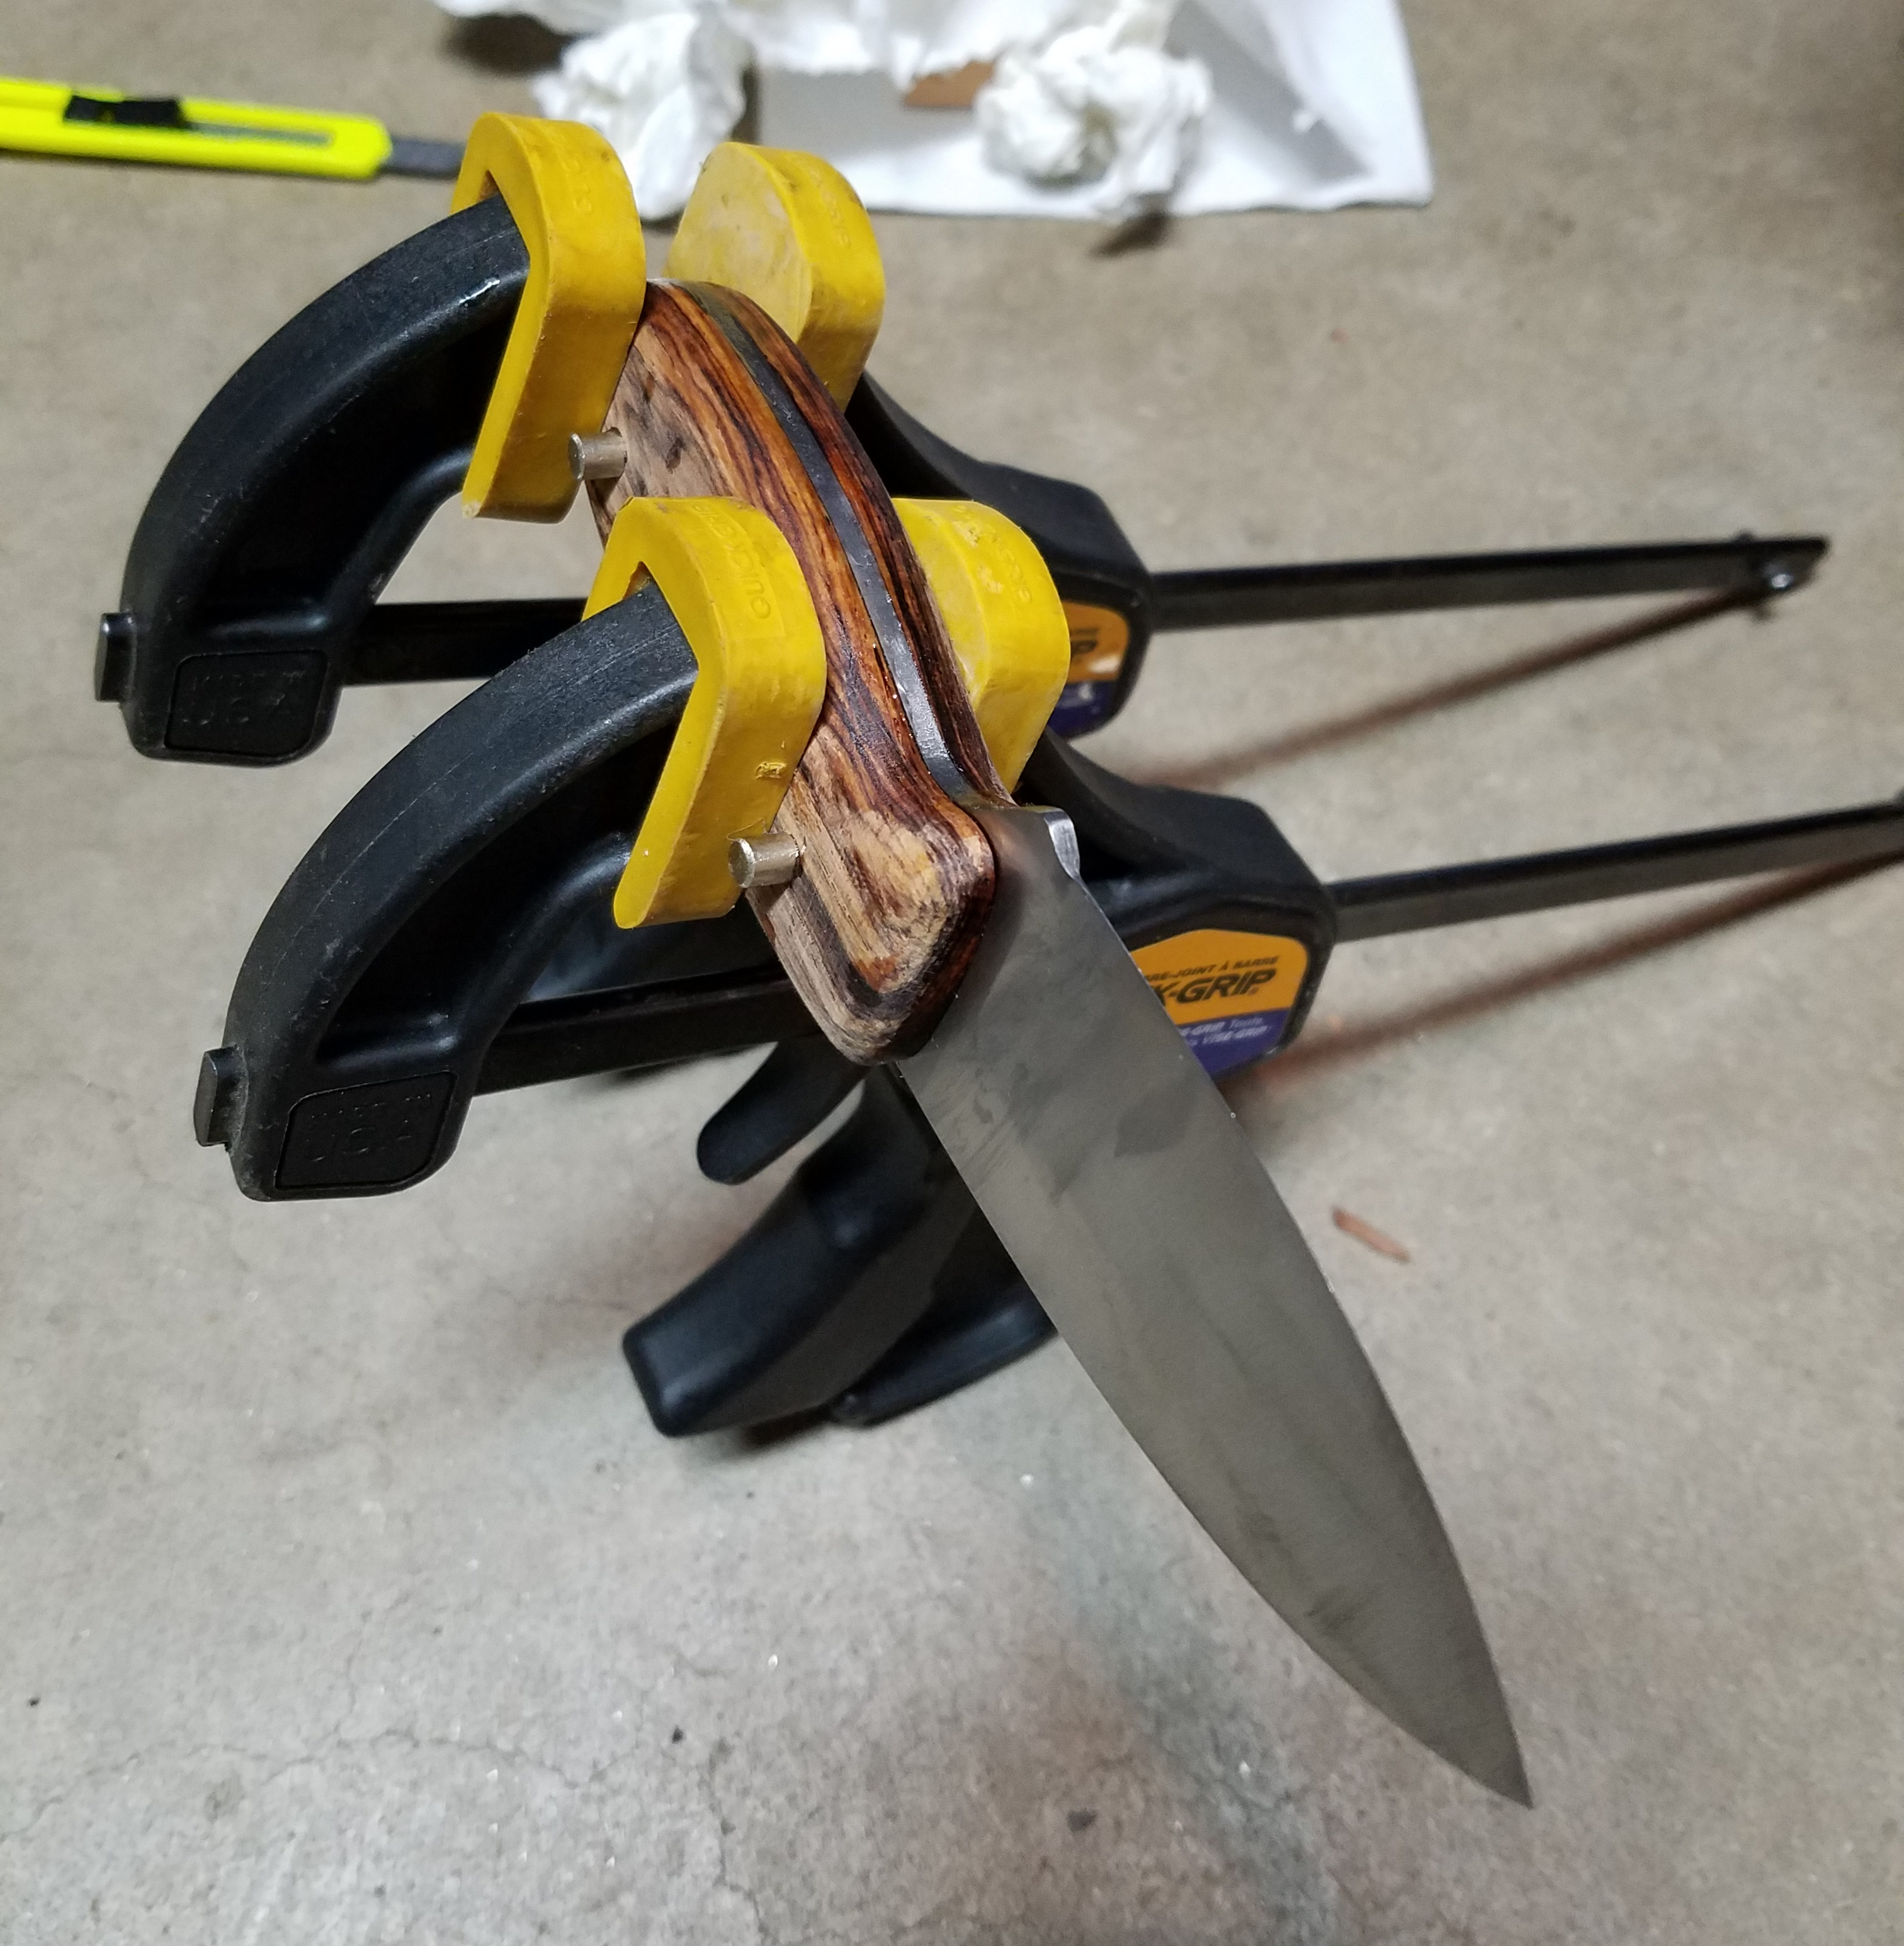
I then glued the wood scales onto the sides of the steel with epoxy. They were held in place with the dowel pins and clamps. For future knives, I will definitely use more clamps and ensure better flattness of the scales since there is a small void between the wood and steel in one spot.
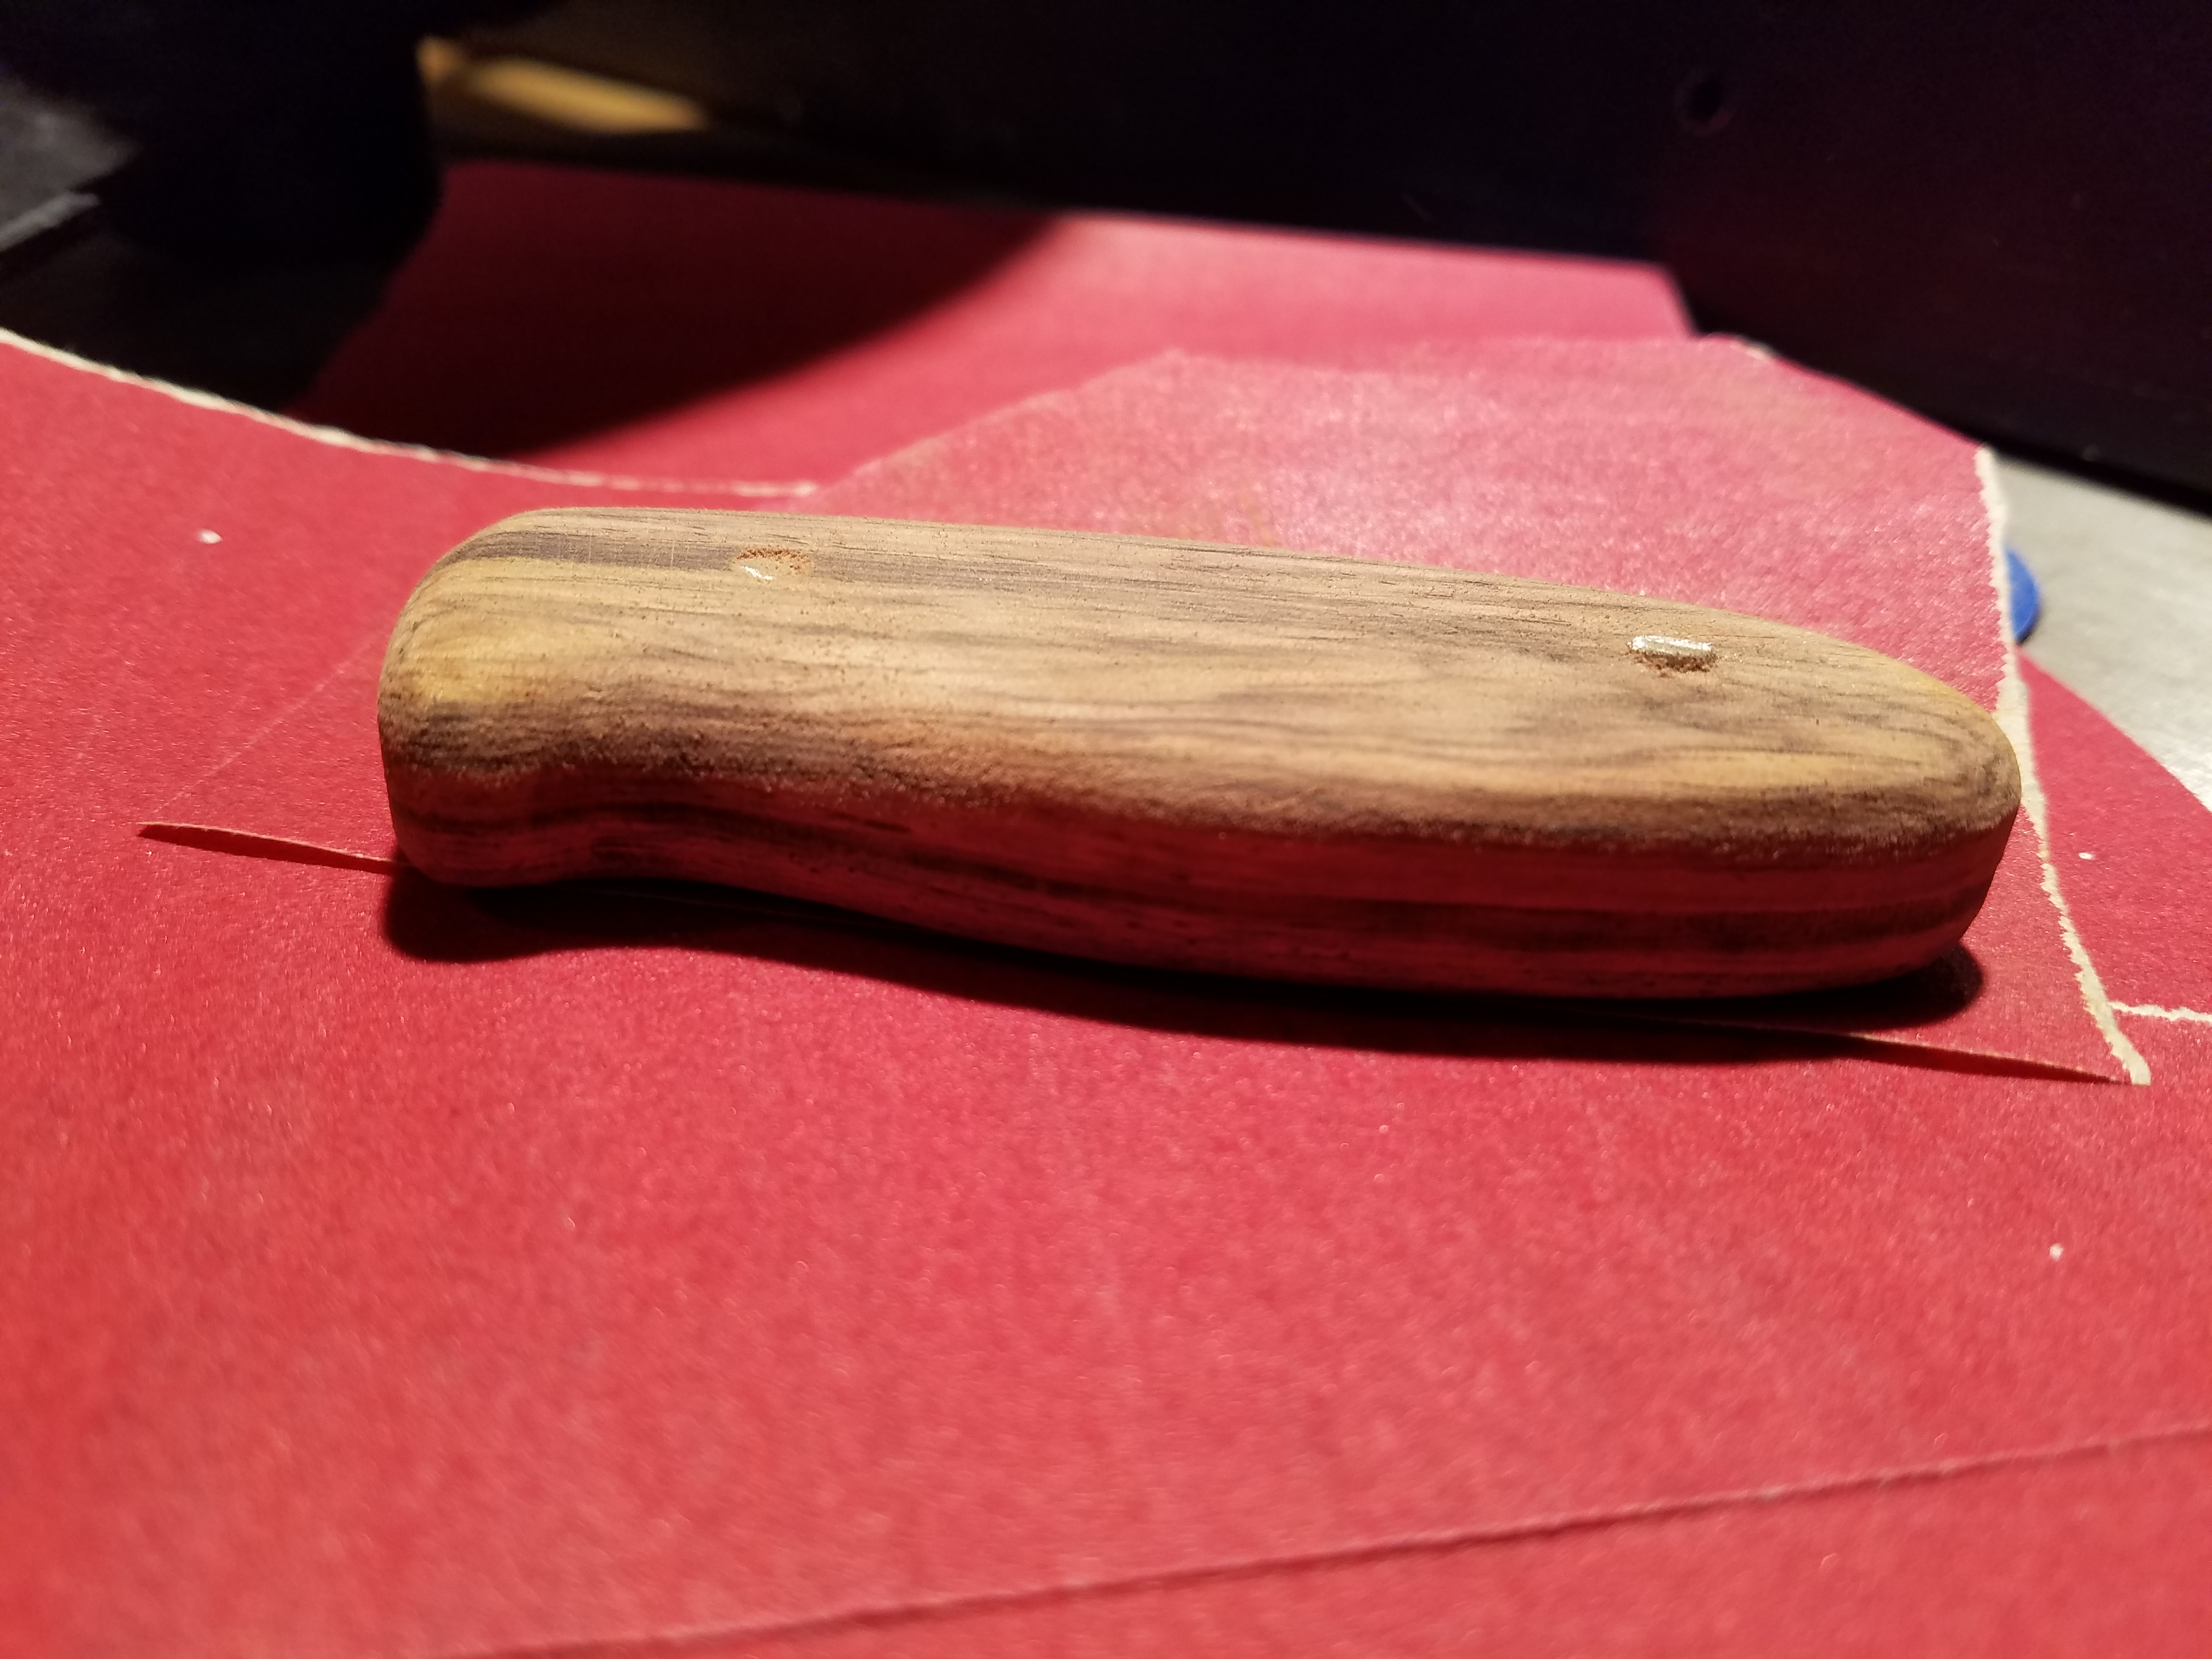
Once everything was glued, I could have hammered a mushroom head on the ends of the pins but I decided not to. I was concerned about accidently damaging the wood finish and since this knife won’t be getting very heavy use I’m not so concerned about it falling apart. I simply sanded off the excess of the pins and let the epoxy work its magic.
Finishing
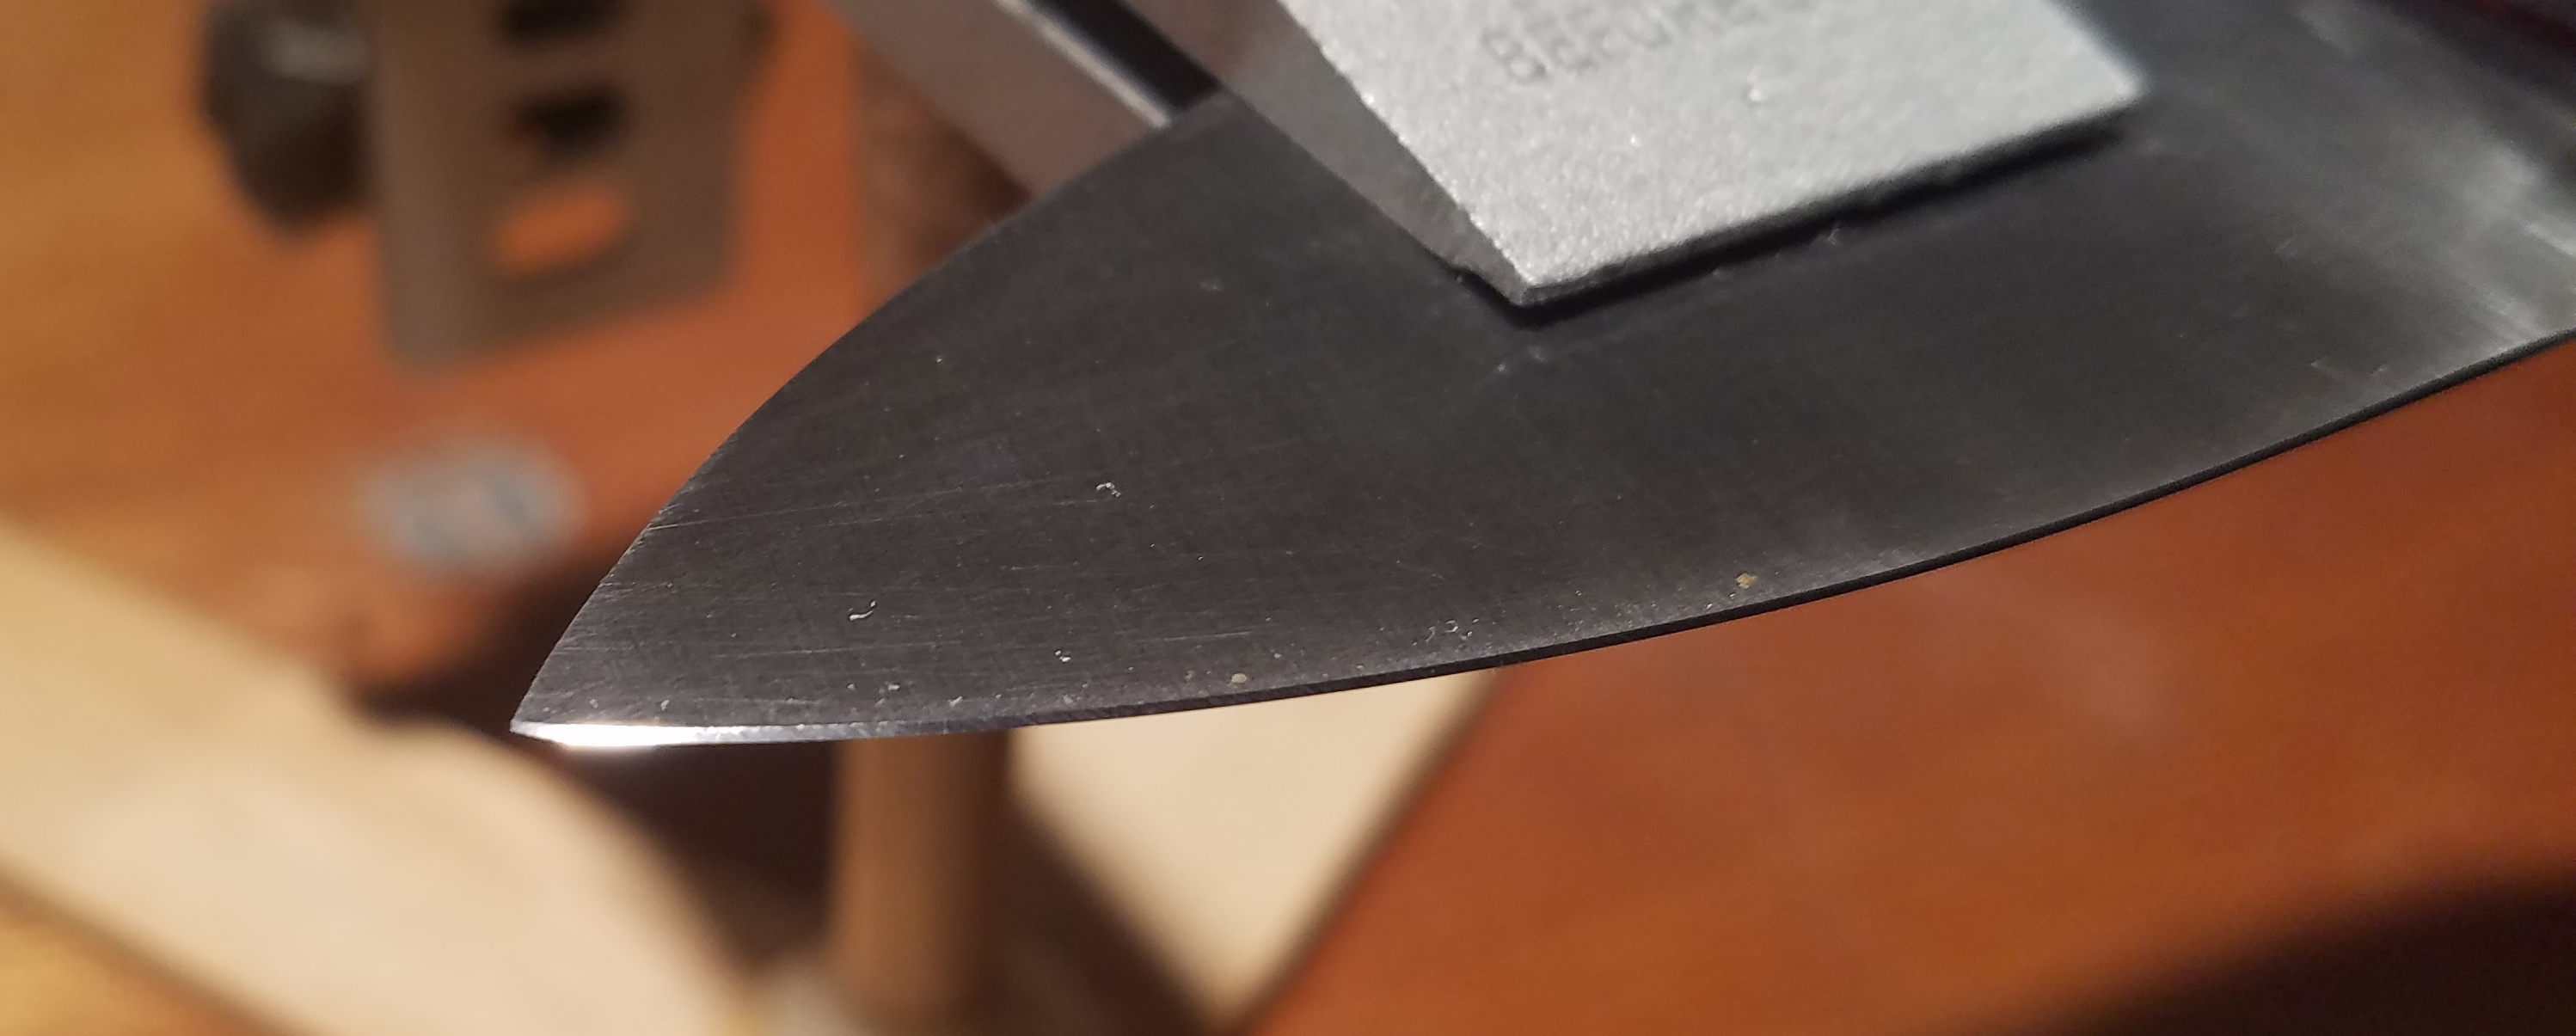
The steel was simply finished by hand with sand paper on a flat surface. I was initially planning to take the finish up to around 1000-2000 grit but since there were already imperfections like a minor warp of the steel from heat treating as well as not perfectly flat surfaces of the bevel, I decided to stop at 400 grit. I’m still happy with this decision since it saved me a lot of time and I like that it looks more like a brushed finish.
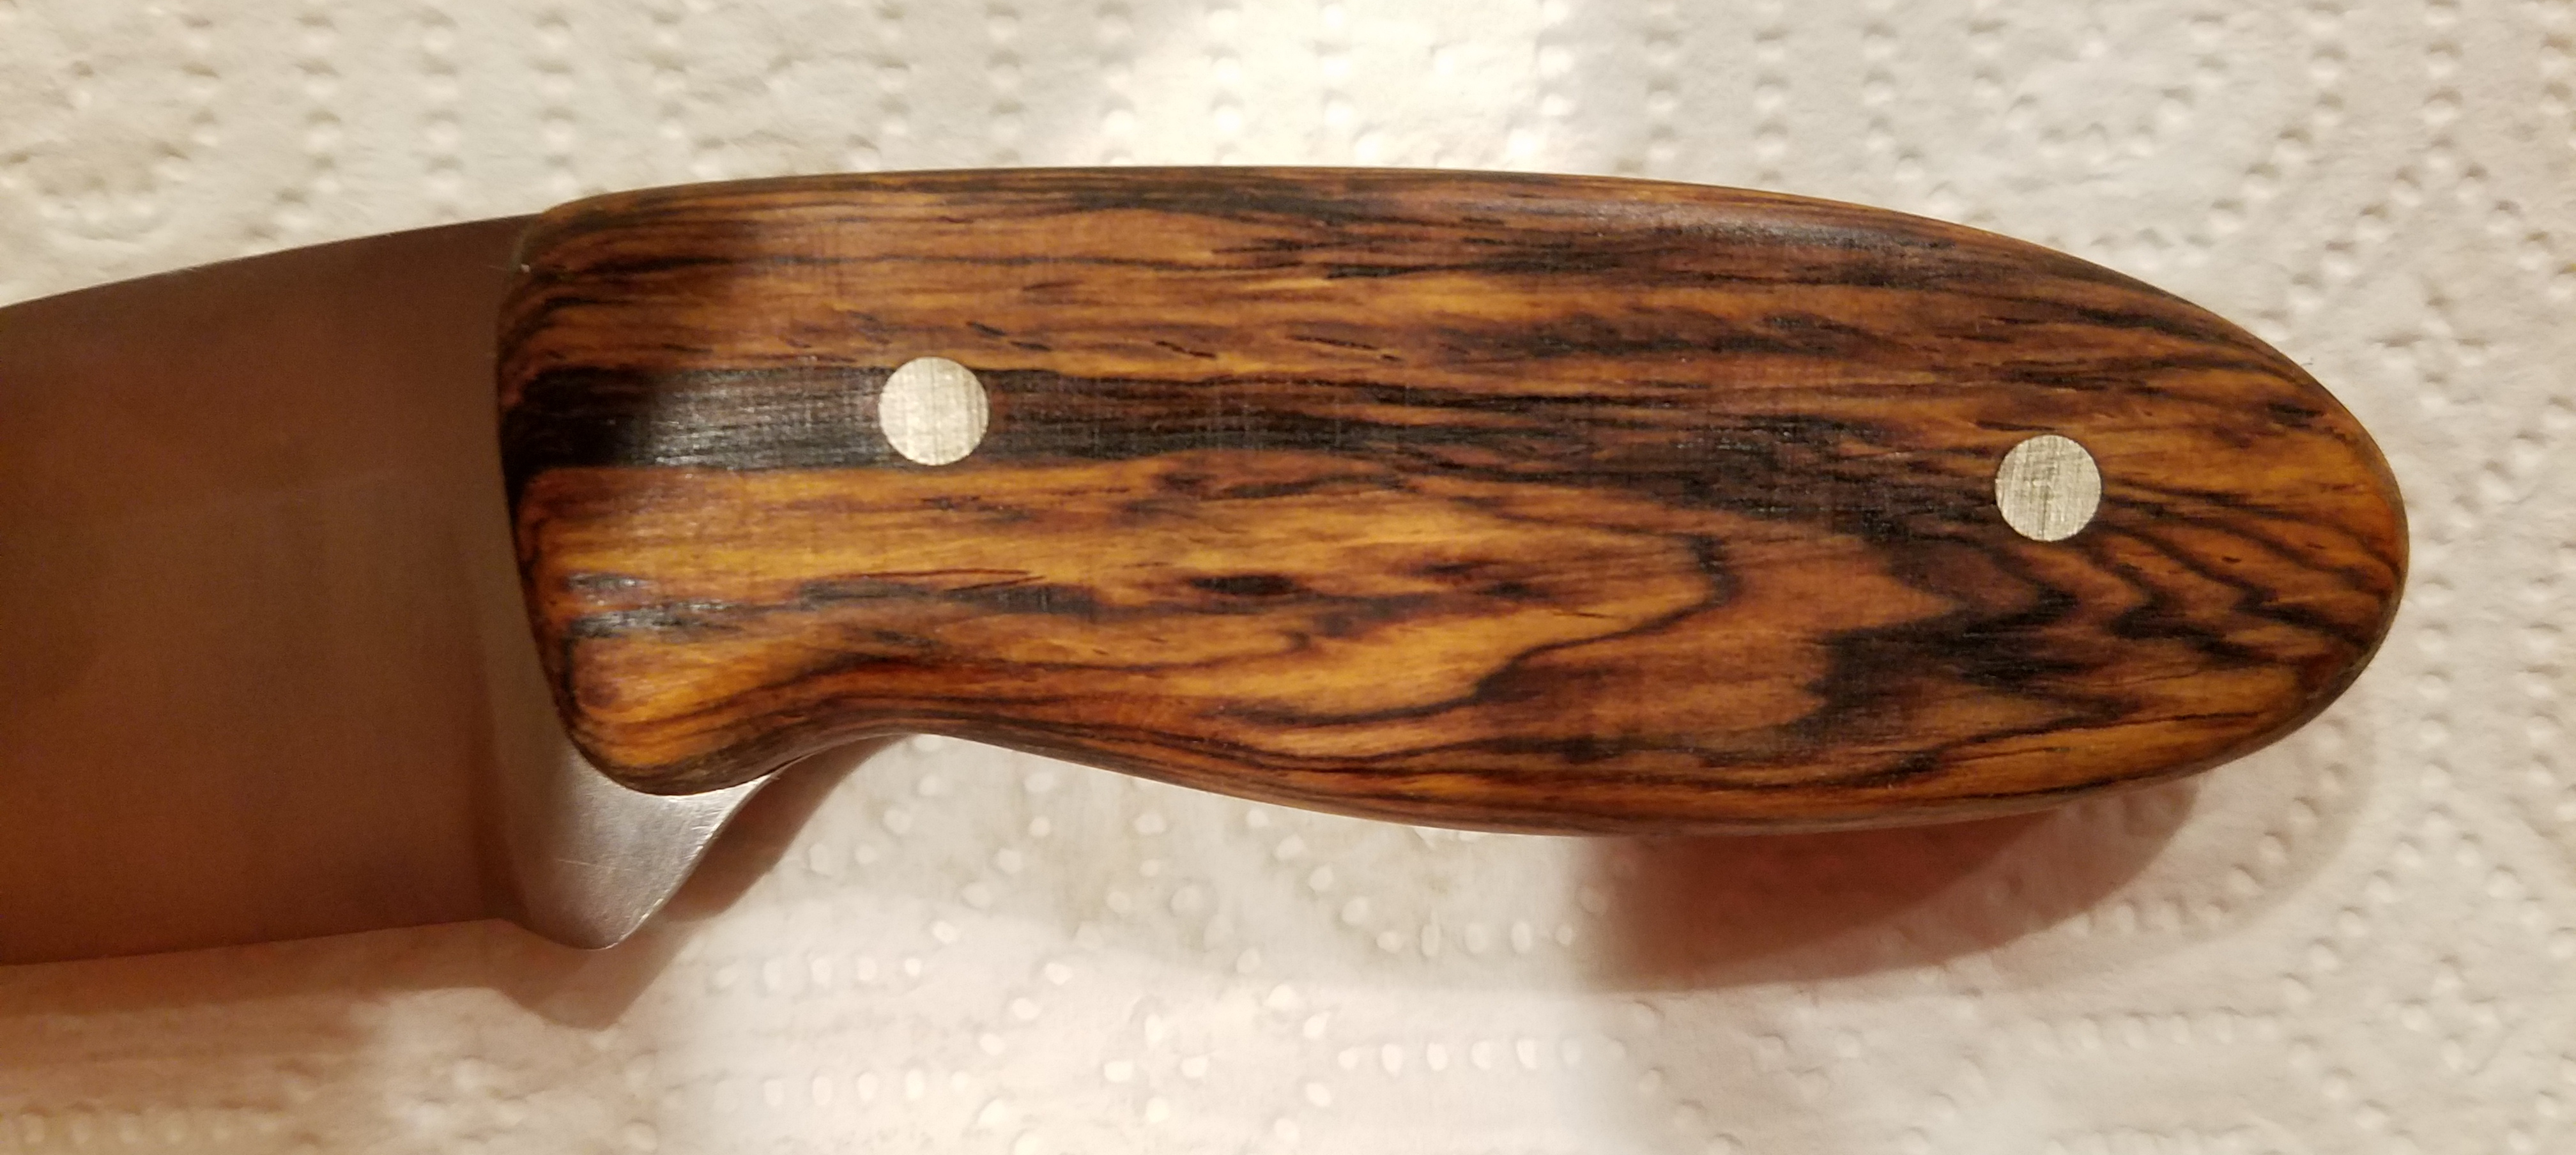
For the handle, I was planning to use polyurethane simply because its what I had and I don’t know much about finishing woods. Luckily for me, before I started using it I did some research which revealed that polyurethane will never cure when used on cocobolo and many other exotic hardwoods. This is due to oils from the wood interfering with the reaction which cures the finish. In the end, I used a tung oil finish which turned out beautifully.
I generally havent worried too much about how sharp my knives are in the past and simply used an electric sharpener from my kitchen. This time, I wanted to do a little better so I borrowed a set of stones from a friend and put the time in to give it a real edge.
Conclusion
I’m really happy with how this turned out. The knife feels good in my hand despite having a small handle. I sharpened the blade well beyond the point of shaving hair so I know it will take an edge well. I have yet to see how well the steel holds its edge.
Resources
- Jantz Supply for 1095 steel & cocobolo block
- Harbor Freight 1x30” belt sander
- Diablo 1x30” sandling belts
- Harbor Freight propane torch
- Lansky knife sharpening set
NOTE: I initally used Harbor Freight’s 1x30” sanding belts. Their 40 and 80 grit belts are quite satisfactory however the ends of their 120 grit belts are overlapped (creating a bump) rather than having a proper butt joint. I recommend Harbor Freight 40/80 grit sanding belts over Diablo belts due to cost. Diablo is just what I could get locally.